
Who knew it was going to be almost a year before I posted another update? Not me! No, the addition didn’t take that long to finish, it’s been done for well over a year now, life just got in the way and things were busy. Let’s get on to this update…
With the bathroom done, minus doors and trim work, the next step was tying in the hardwood flooring from the existing flooring in our bedroom into the addition.
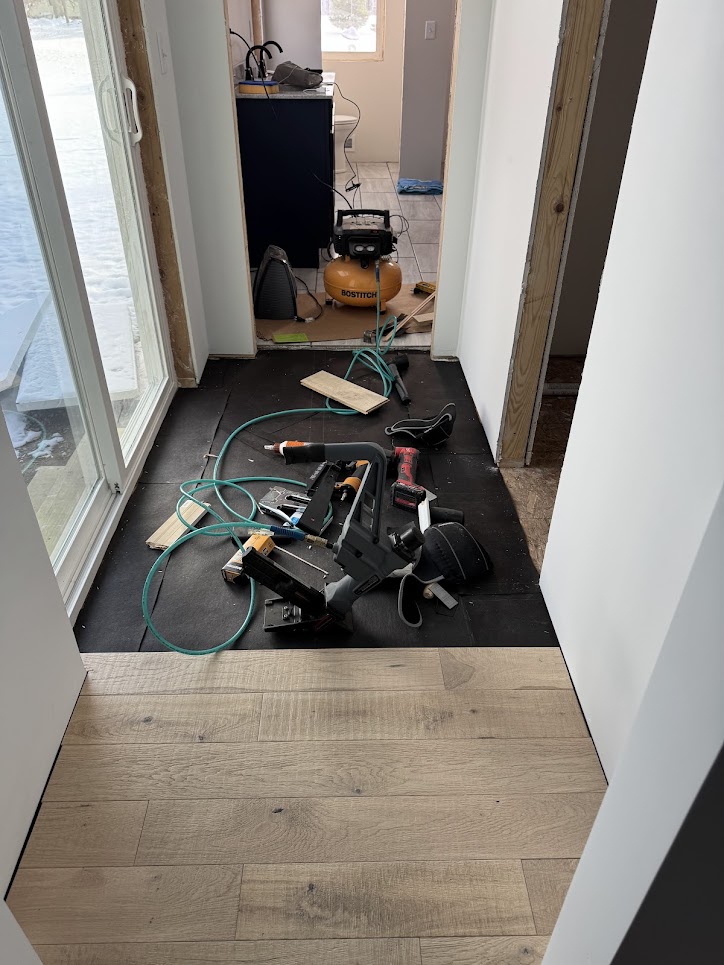
In the picture above, the walkway the camera is looking through used to be the exterior wall of the house, now its the entryway into the small hall that either goes straight into the addition or turns into the walk-in closet. To start, I had to remove the existing edge piece of flooring along the wall and then I could continue on with the flooring. Thankfully we were still able to get the exact flooring we have in the rest of the house.
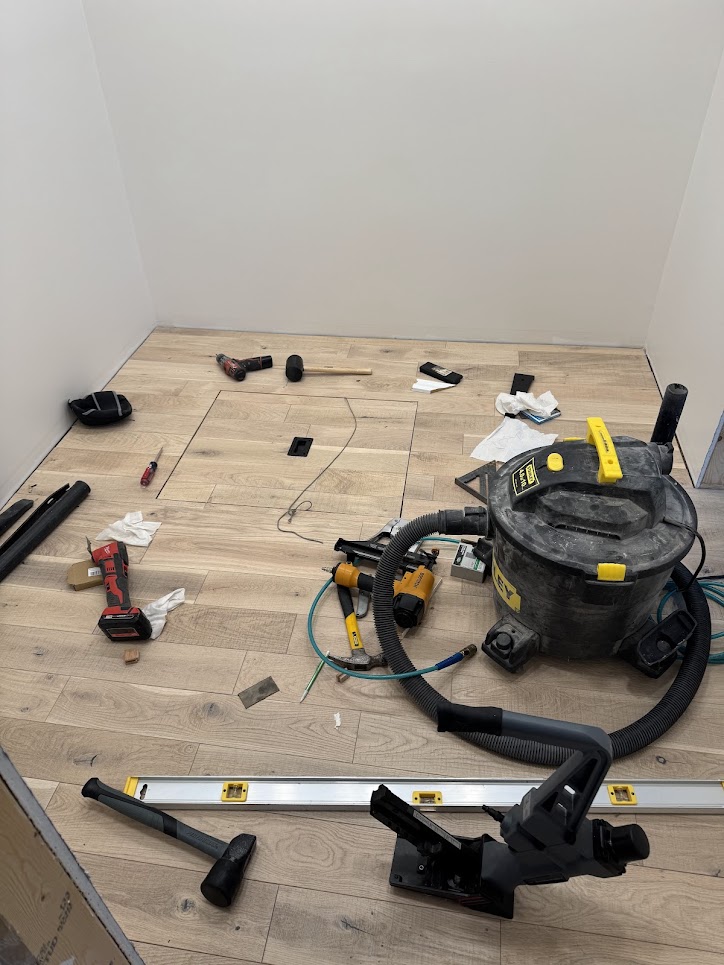
Once I finished the small hallway, I had to work my way into the walk-in closet. It was all fairly easy to do, the only new thing I encountered here was the crawlspace access. I hadn’t ever had to add flooring to one of these before, but I think it turned out really well. The black rectangle in the middle of the access panel is a flush mounted handle that lifts up when you need to access the crawlspace area.
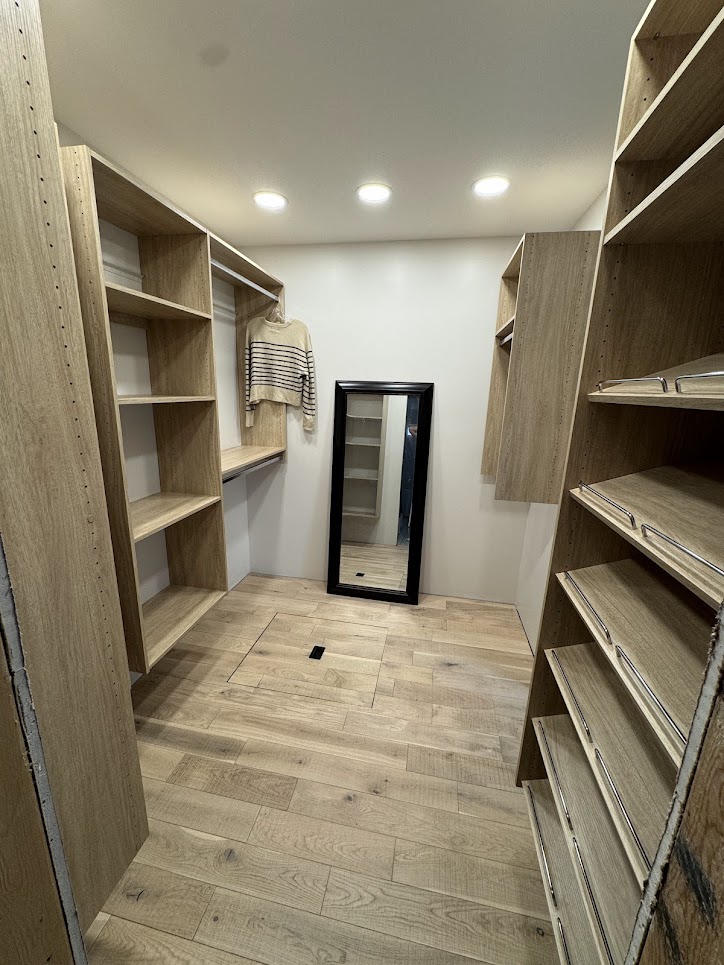
With the flooring done, it was time to get the closet organization into place. Meghan purchased a series of units that she liked, and one that worked very well with the floor color. I saved you from having to see each step, so here is a look at the final setup, complete with a single shirt for the photo op, haha! It’s also VERY bright in there, 6 LED’s in the ceiling, 3 at each end – added a dimmer switch as well so that can be dialed back a bit if needed.
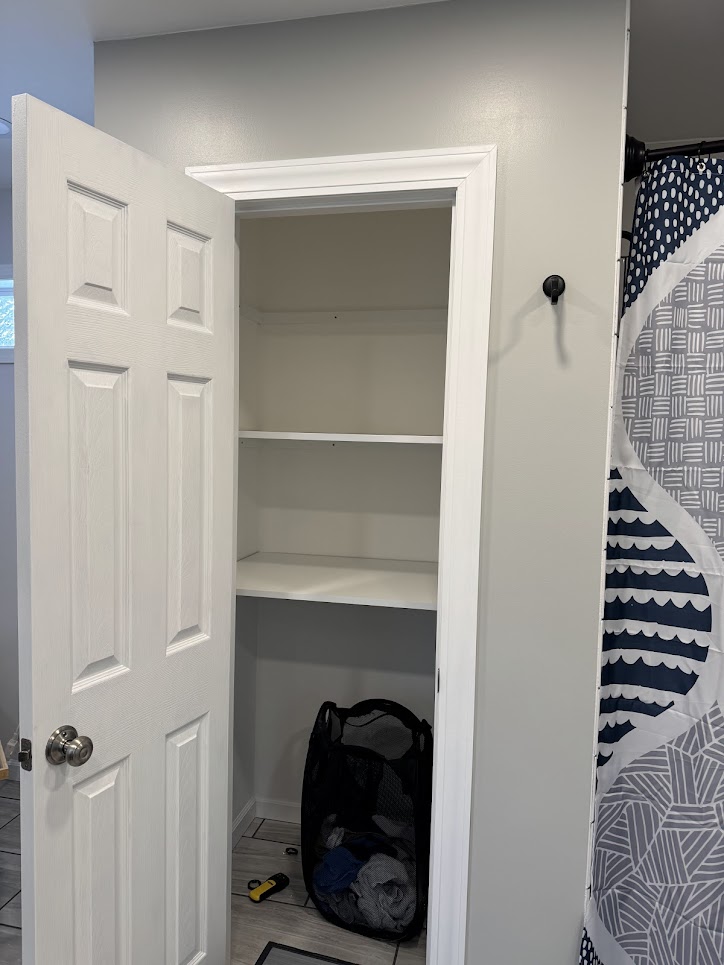
Next it was time to get the doors on and start working on the finish trim. Here is a look at the linen closet between the shower and the tub. Here you can see the door already mounted and the trim on, while I’m working to add the shelving inside.
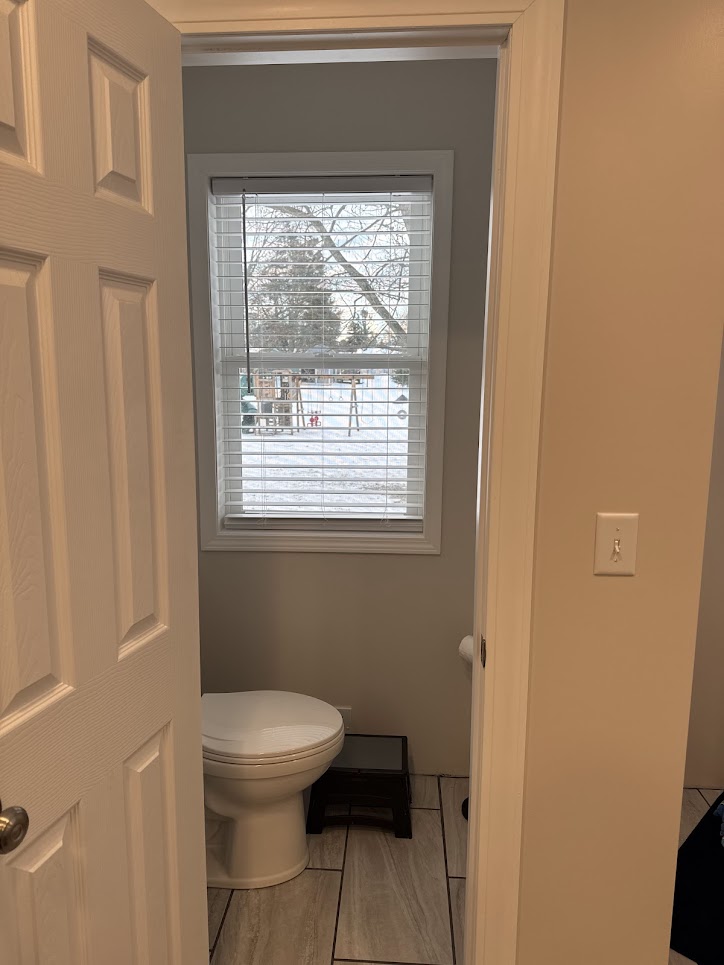
Here’s a shot of the ‘toilet room’ … not sure what else to call it as it only houses the toilet. Here the door is on, along with the door trim and the window trim and blind.
Here I am working around the glass block transom windows surrounding the tub. Because the exterior walls are all 2×6 for the addition, I had to add extension jams to each. Once those were in place I was able to trim them out.

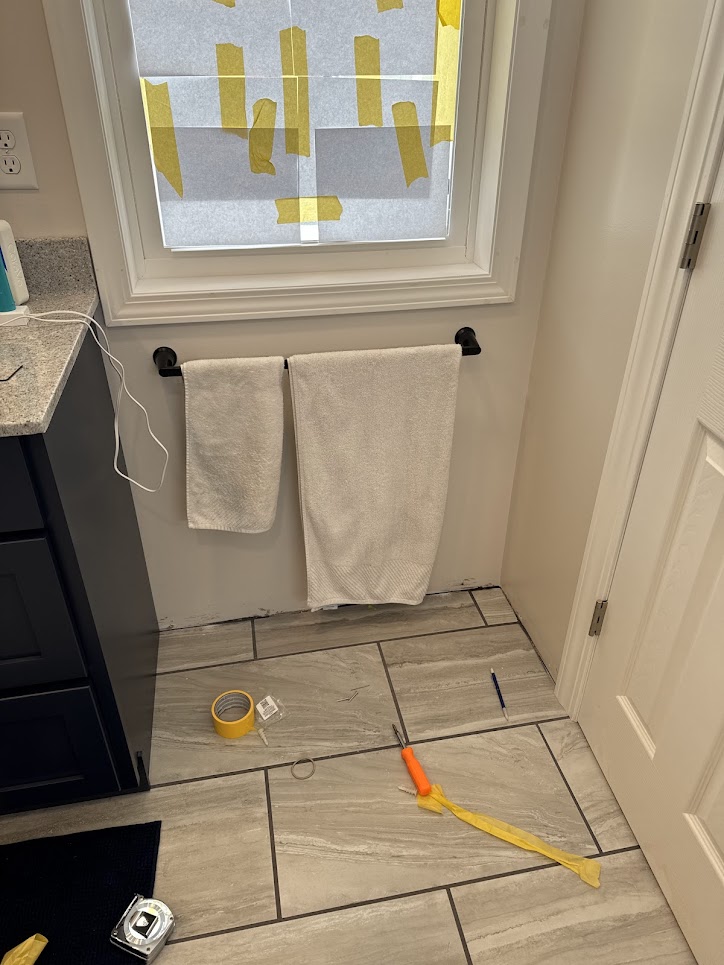
While all of that was going on, I also worked on mounting the hardware. On each side of the vanity we have a window with available space below it. This was the perfect place to mount the towel bar for Meghan and myself. Here you can also see the extension jam and trim in place before the final caulking and paint.
And that will be it for this update. The next update will show the final completed addition, so stay tuned. I promise it won’t take another year. 🙂