
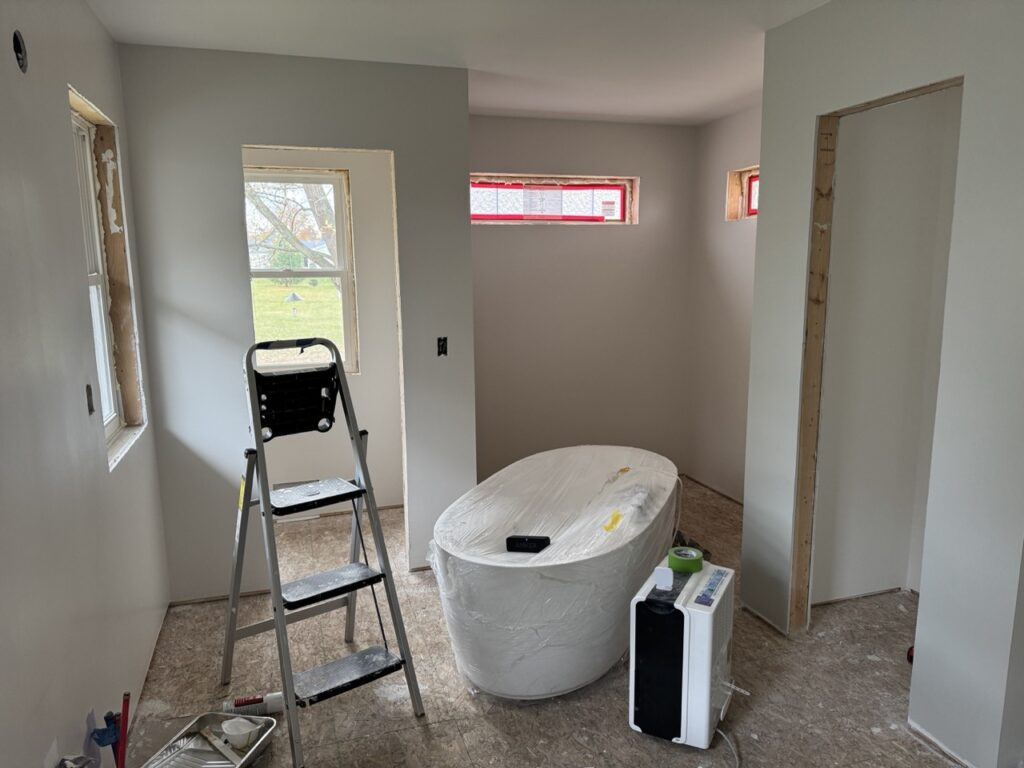
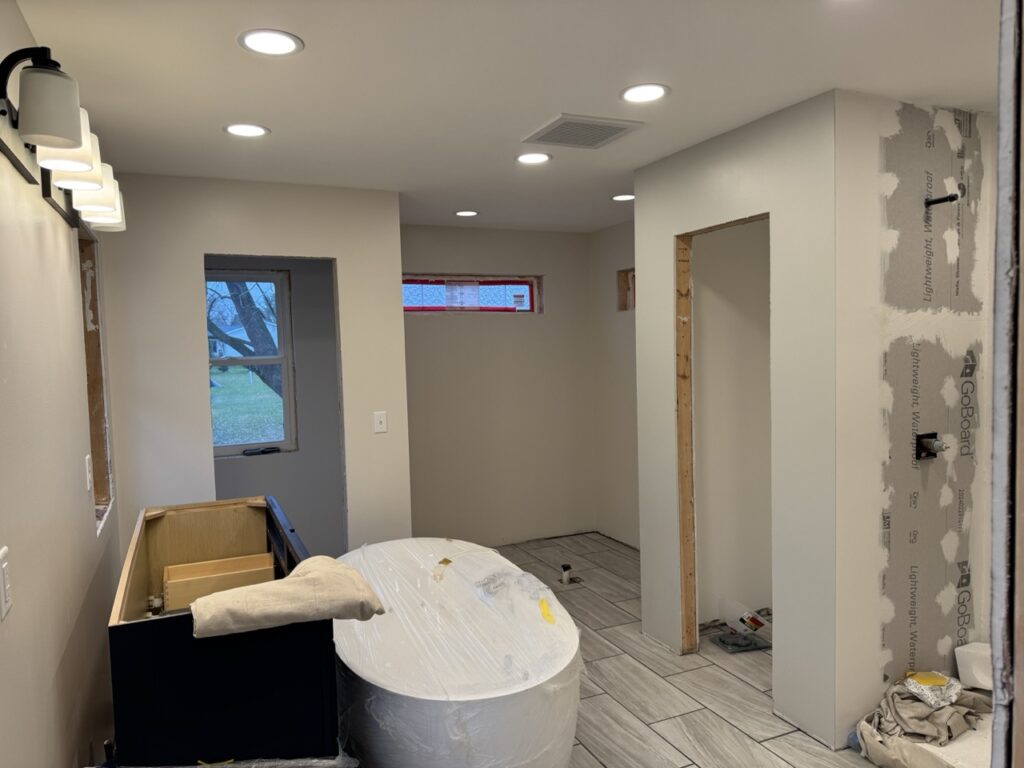
With the drywall mudded, it was time to seal and paint it. I know I took more pictures along the way, but I can’t find them…so you’re going to have to settle for a single picture of the walls/ceiling sealed and prepped for painting.
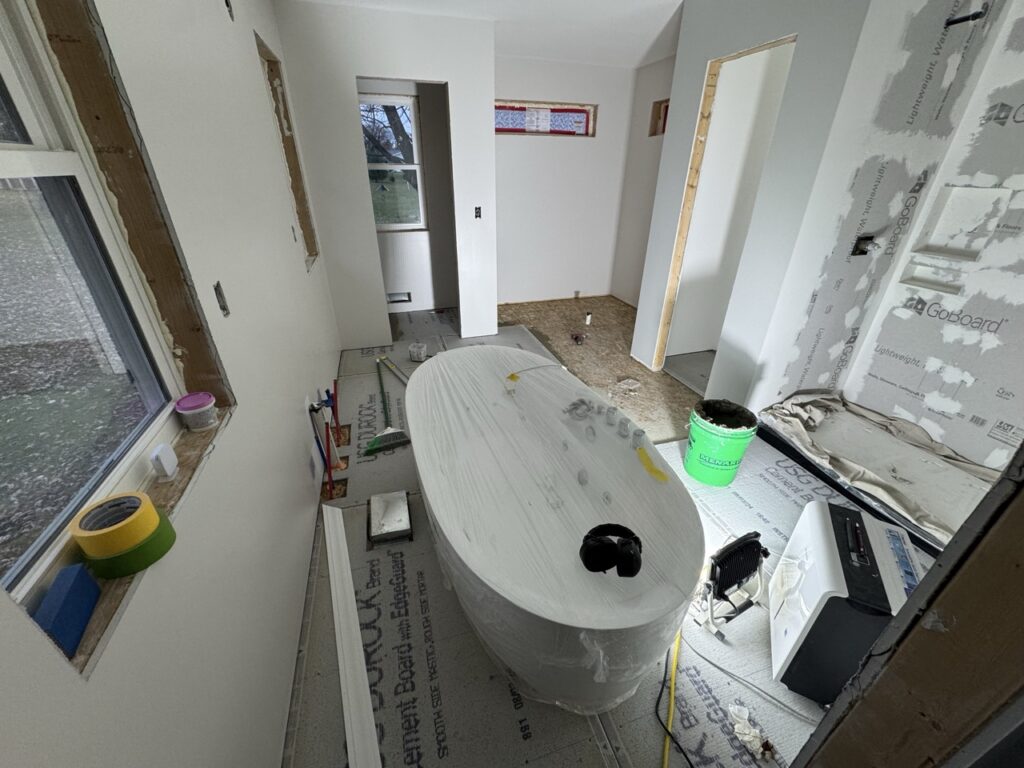
Once the walls were good to go, it was time to start on the bathroom floor. I got the cement board down and the seams all sealed up. It was certainly a pain in the ass moving the tub all around to accommodate the board, but in the end we managed. Over to the right of this picture you can also see the GoBoard around the shower stall that I had put on before the flooring.
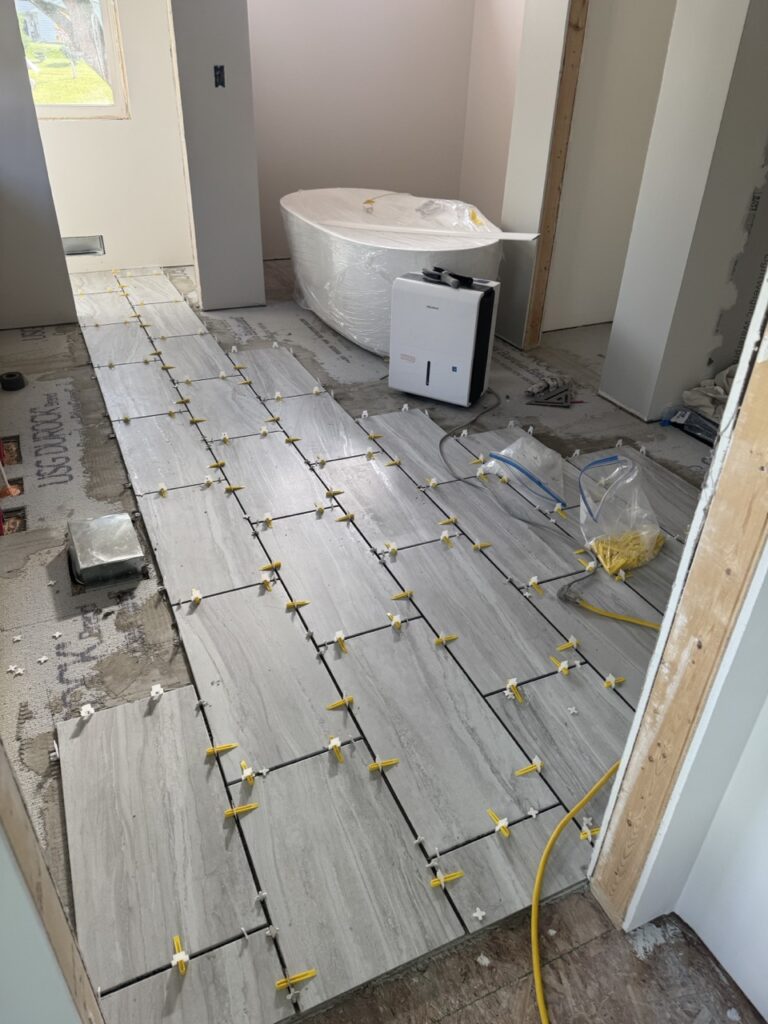
With the cement board down on the floor, it was time to play musical chairs with the tub again while I made room to put down the tile flooring. We went with a 12″x24″ tile laid in a subway tile pattern. I used a tile leveling system to keep it as level and straight as possible.
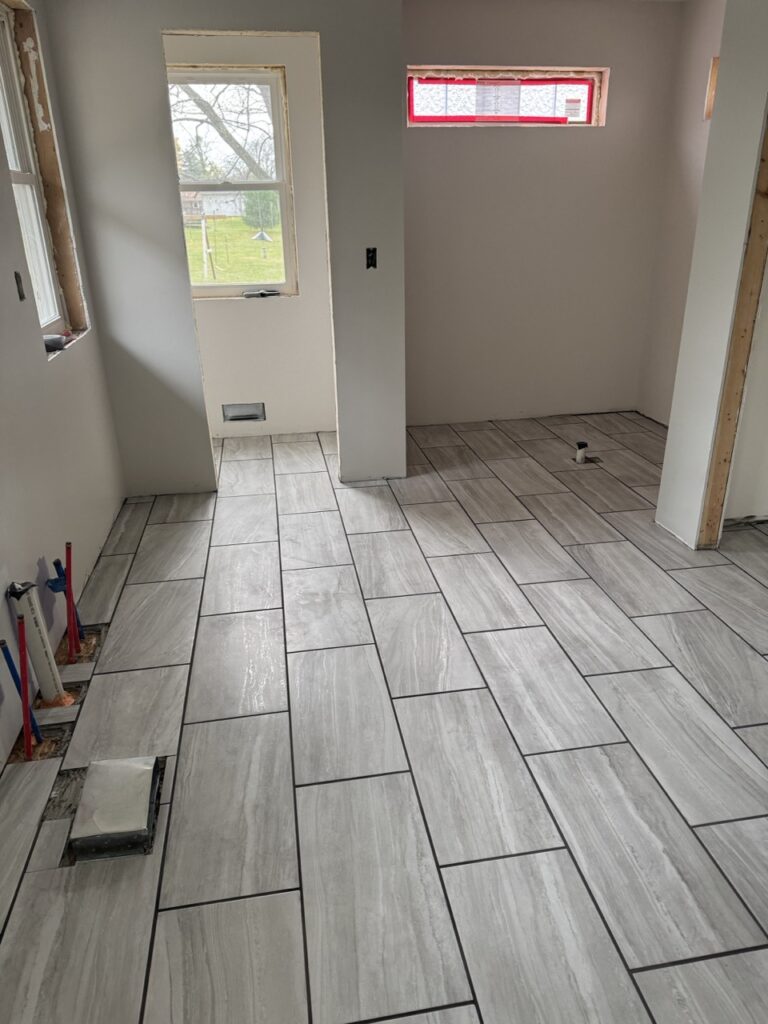
Here is a look at all of the tile down on the floor, grouted and cleaned. And nope, the tub isn’t there….we had to move it into the bedroom to grout.
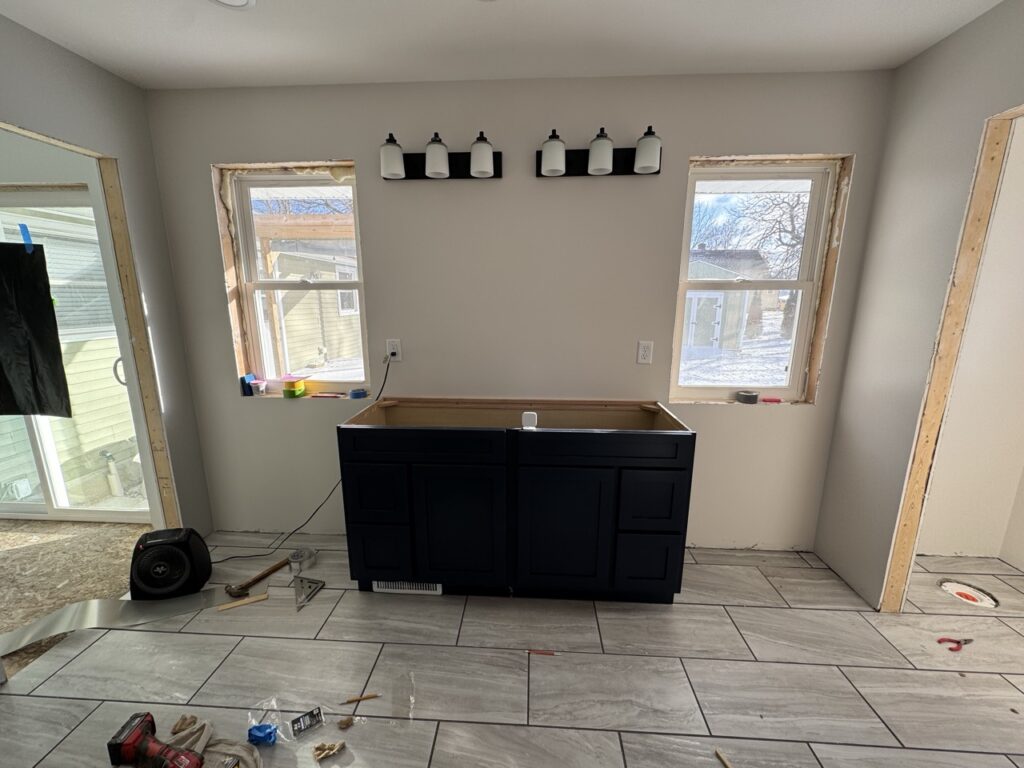
With the floor tiled, we moved on to painting. I can’t find a lot of photos of the painting process – probably because I hate painting and just wanted to get it done, but here is a look into the bathroom. You’ll also notice we have lights now – shortly after painting the electricians were able to finish their work. It’s sort of hard to tell, but most of the bathroom is a light cream color, with the shower wall, and the wall I’m standing at to take this picture, painted a light gray.
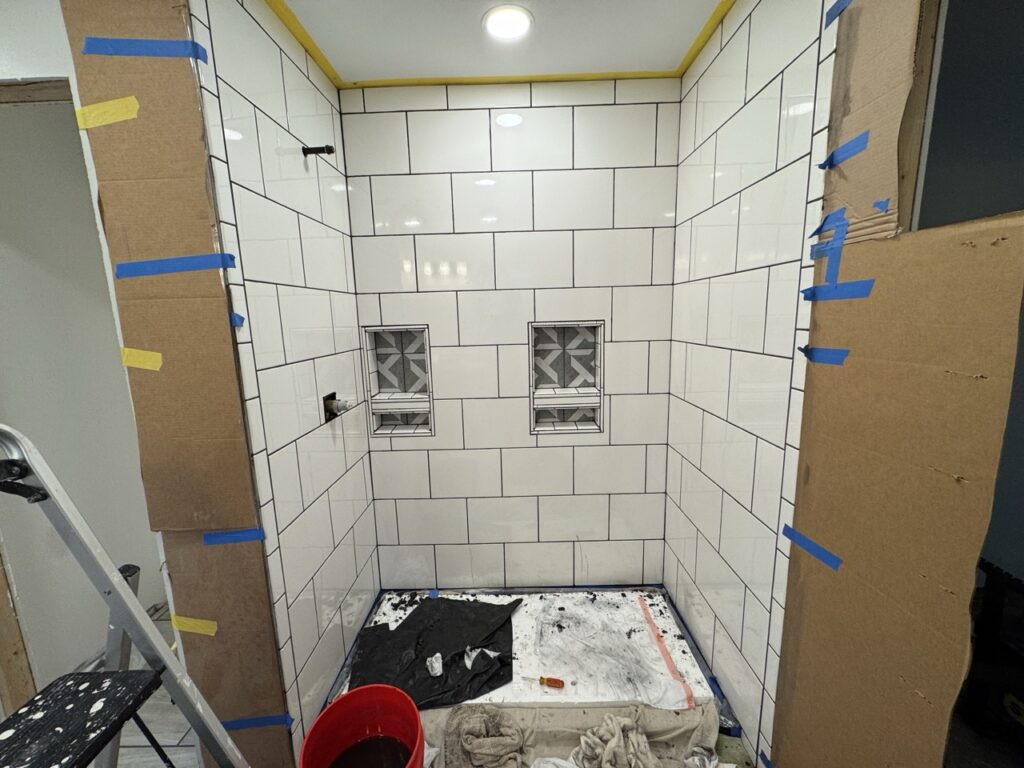
Time to work on the shower. I moved to double up the waterproofing on the GoBoard seams (that’s the purple stuff you see) – it probably wasn’t needed but I wanted to play it safe. With the added waterproofing on, I started the shower tile. The shower tile is a large white tile that I laid in a subway pattern. In our other full-bath, the shower/tub is also tiled with white subway tile, but with a much much smaller dimension. Wanted this to feel a bit more prestigious while carrying the theme, hence the larger tile.
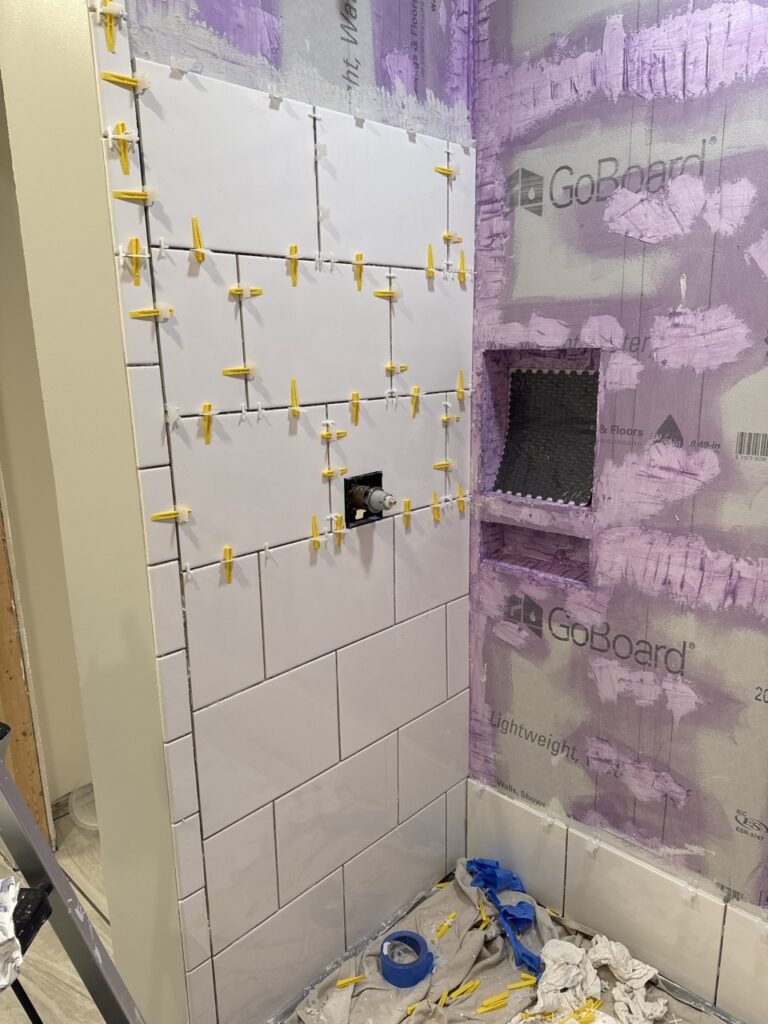
I continued my way up and around the shower. If I never have to tile a shower again – or any vertical surface for that matter, it will be too soon.
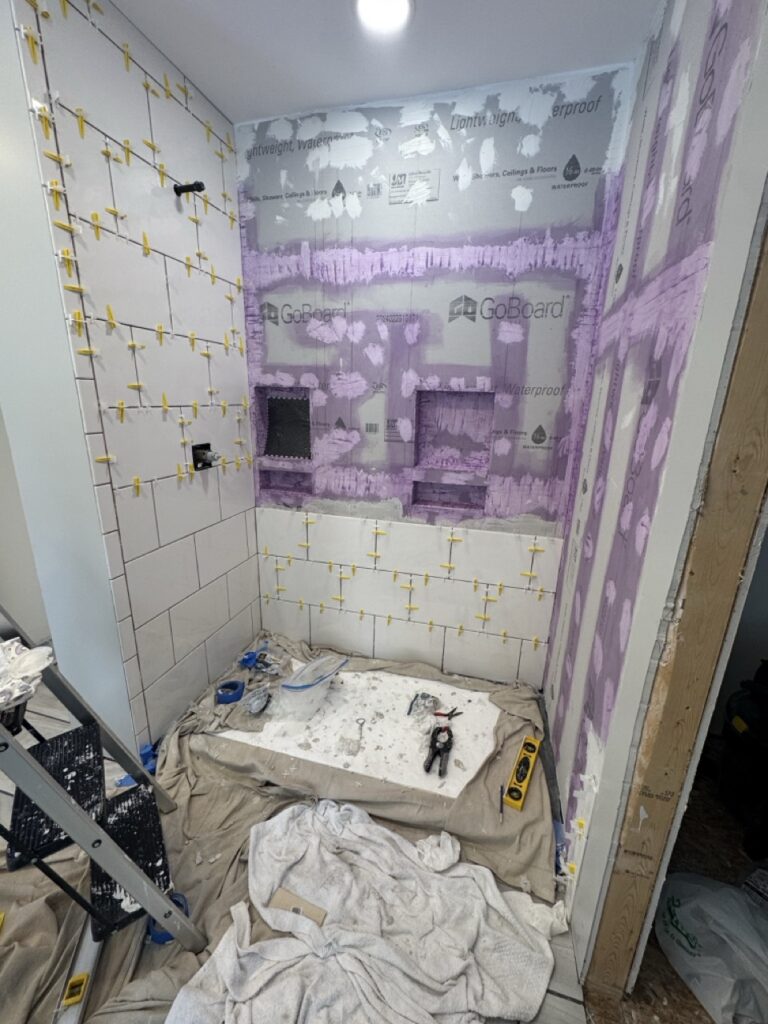
After what felt like an eternity, I finally got it done. I had never done a shower niche before, let alone two of them, but I think they turned out alright. The tile we chose for the back of the niches do have a pattern to them in their design, it’s just looks like an odd funky pattern at that size with as few tiles as I needed to use. You might also be wondering why the niches aren’t centered in the shower wall. That would be a good question. At the last minute we had to swap the shower and the linen closet because the drain would have fallen directly on top of an I-joist, and cutting the top of those is a non-starter. So….when I moved the interior walls around, I didn’t have a good opportunity to remove and rearrange studs on the exterior wall – especially with the house having already been sided. Oh well – in the end it worked out….but the asymmetry does get to me if I look at this picture long enough.
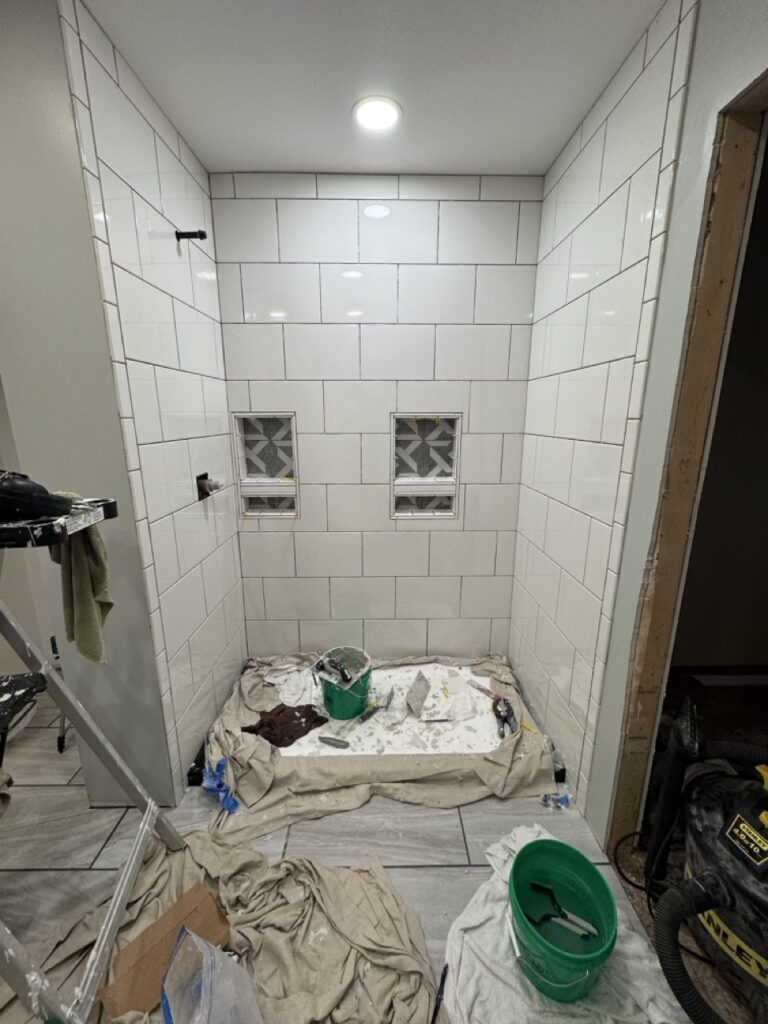
With the shower tiled, it was time to clean and grout it. Here is a look at the finished grout.
With the bathroom tile work done, it was time to set the vanity into place. This was a treat for sure. Meghan and I had to lift this up and over the water lines and drain pipe, while also trying to ensure that it fit over the vent in the toe kick. We splurged to get a high quality vanity, so this thing ended up being super heavy.
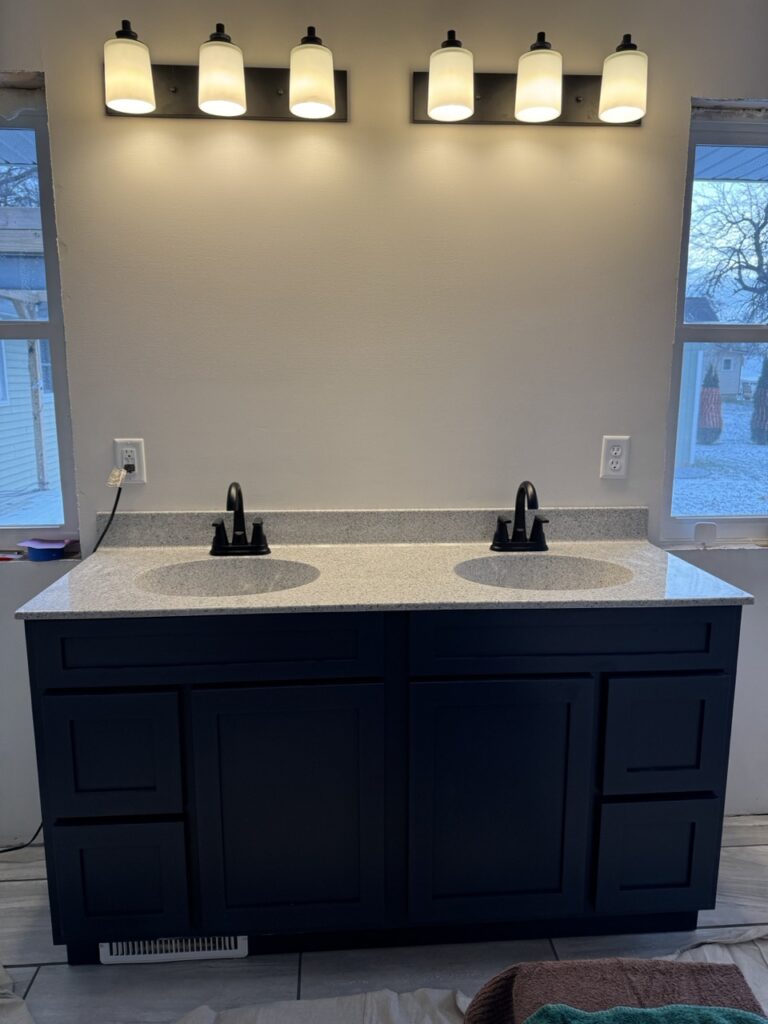
With the vanity cabinet in place, it was time to put the sink top on. The sink top is made of granite, so it too was a treat setting into place…at least we didn’t have to work around the water and drain lines.
At this point my work on the bathroom was essentially “done” – the plumbers needed to come back to get the drains , faucets, tub and shower hooked up, and set the toilet. While we waited for them, I could move on to the next step, which was tying the existing hardwood flooring into the new addition hallway and walk-in closet. I’ll cover that in the next post.