At the end of August, a very large storm went through the area. It ended up causing a lot of damage in the surrounding area, including structural damage and downed power line and poles. As it turns out, a tornado was also in the area and cause lots of damage, including loss of life, along the highway.
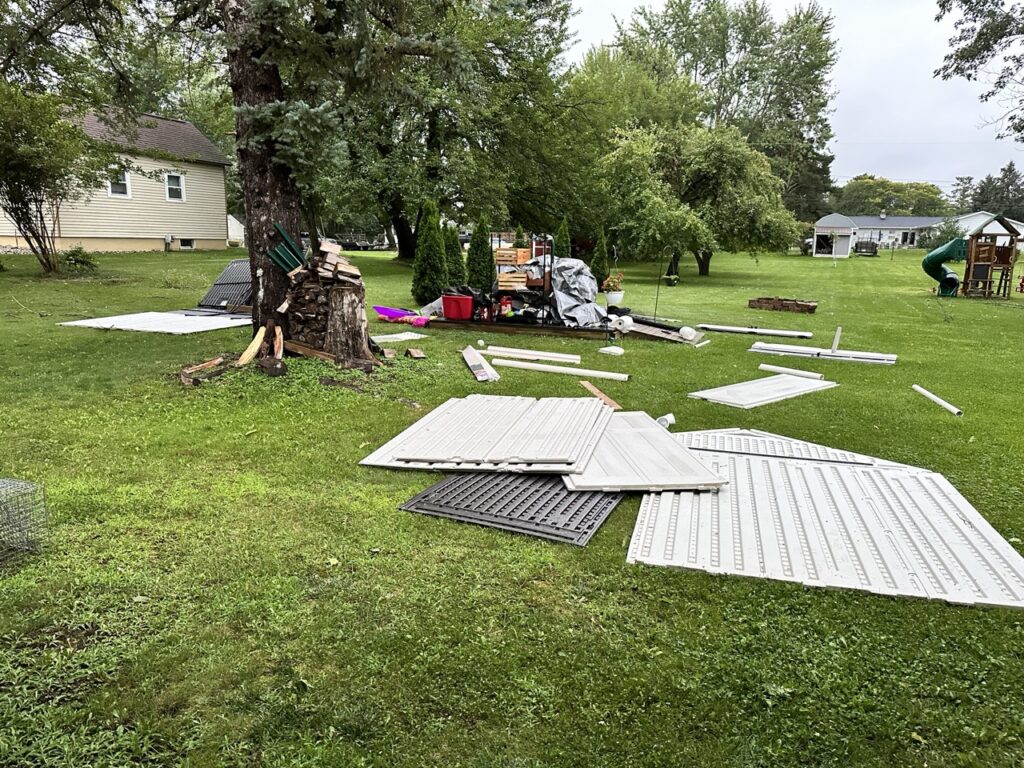
At our house, other than tree branches and broken limbs, we did suffer structural damage to our shed. We had an 8’x10′ PVC shed that essentially blew up and blew away into pieces – some in our yard, some in the neighbors. The night of the storm, I drug all the shed pieces from the neighbors yard back into ours.

The following morning, Meghan and I moved everything that had been in the shed – now scattered around the yard (though some things were actually still standing in the shed base just fine) – into our garage so we had some place to store it.
It was project time…
The shed that was now gone, was 8’x10′. Since building it, we have acquired more things (like deck furniture) that require storage space, so if we were going to build another shed, we would have to build it back bigger and better. Going PVC again wasn’t going to be an option. So, I got to work.
First up, expanding the platform for the shed. I added 4′ onto the 8′ side to create a new 12’x10′ platform.
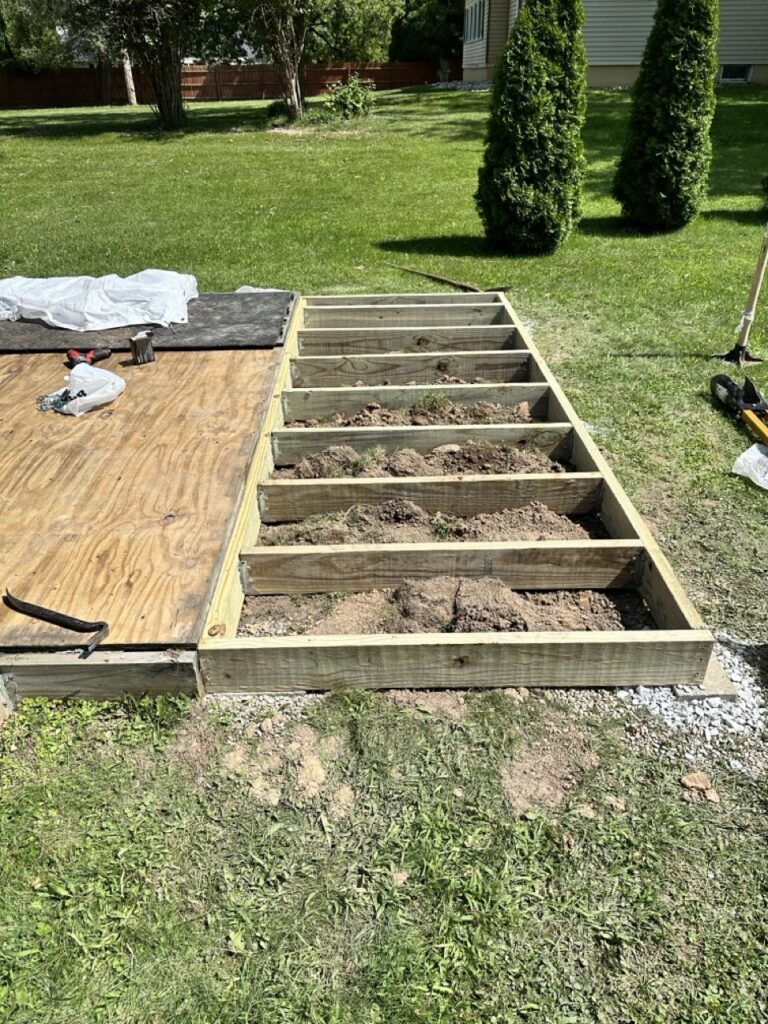
Next up, adding the new flooring and then painting it with a rugged paint that will hopefully withstand years to come.

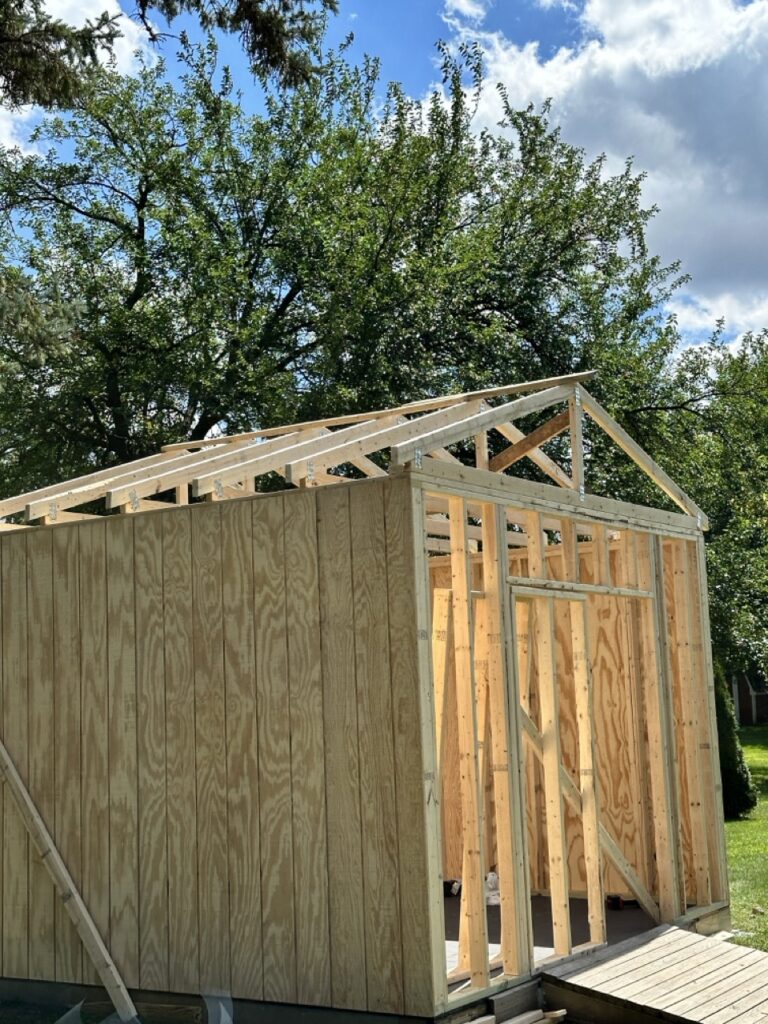
With the base done, it was time to move onto the walls. The old PVC shed did not have standard 8′ wall height that you would find in a house, so that also cut down on the amount of storage that the walls could be used for – with the new shed I made sure to address that.

With all 4 walls up, it was time to put the handmade trusses up. Thankfully I had my dad there to help me with that bit, getting the trusses up and in place alone would have been a hassle.
With the trusses on, I added the roof sheathing and went to work on the shingles.
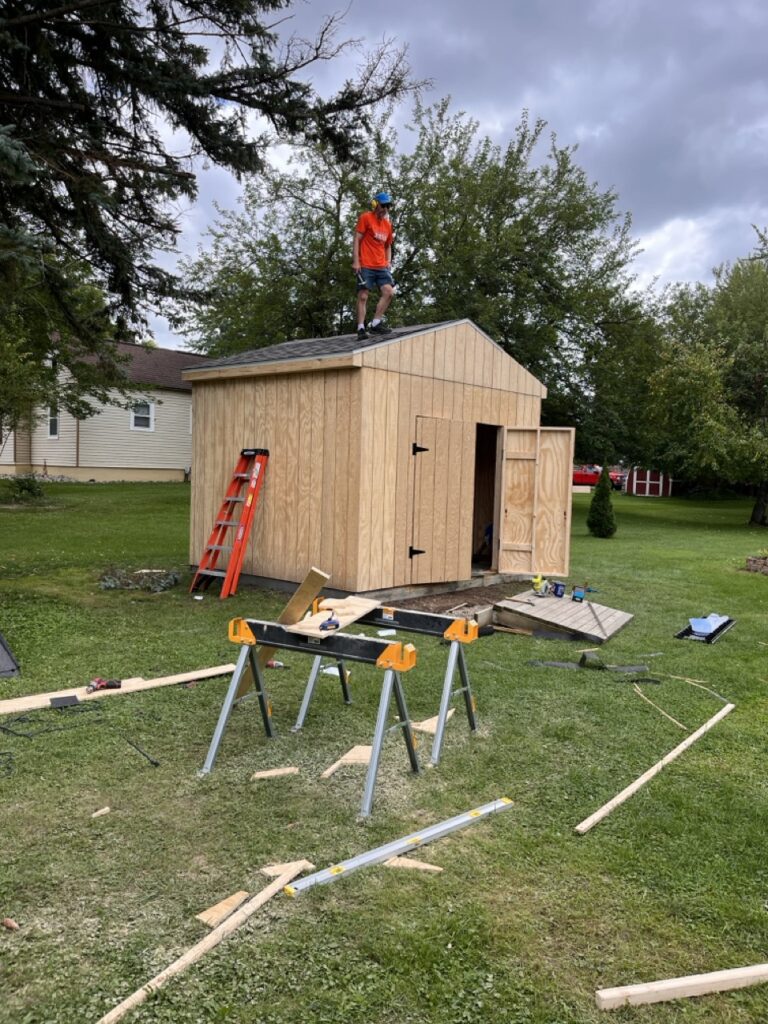
With the roof done, we got to painting – this is where Meghan was able to jump in and help with the priming.

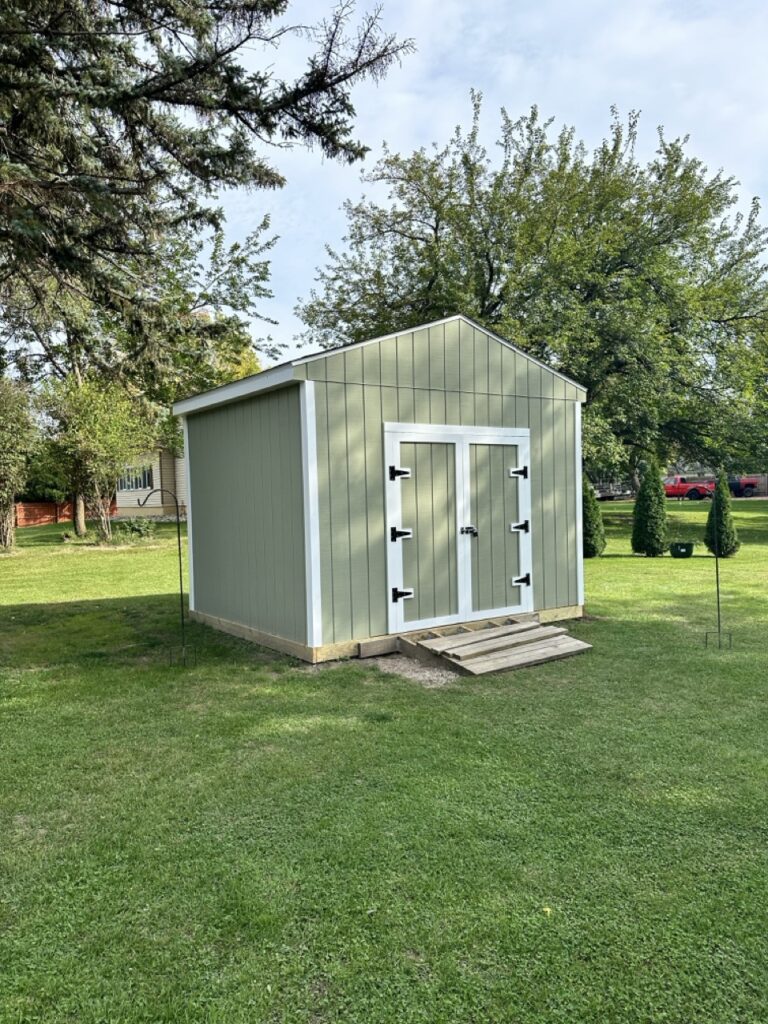
And here is a sort of “final” look at the shed. The shed paint was color matched to our vinyl siding on the house, and its almost a 100% match. The ramp shown here is the ramp from the old shed, temporary until next Spring. Technically this ramp could work, but it needs to be lowered so that the doors can open when all the planks are installed on the ramp – currently that is not the case. Also, since finishing the trim on the doors (with actual wood), I’ve found that the trim has swollen from rain to the point that the trim now touches with zero gap around the doors – preventing them from staying closed without blocking the bottom of the door. In the Spring I plan on redoing the trim with vinyl trim – something that won’t swell in water at all. Overall I’m pretty happy with how it turned out.