
Now that the walls were up and the roof was on, the focus could be turned to the interior of the addition. Now before insulation and drywall could go in, rough plumbing and electrical needed to be done. Neither of those things are up my alley – growing up I worked in residential construction with my dad, but we always did framing and finish-type work, both inside and out. For these, we had to hire it out.
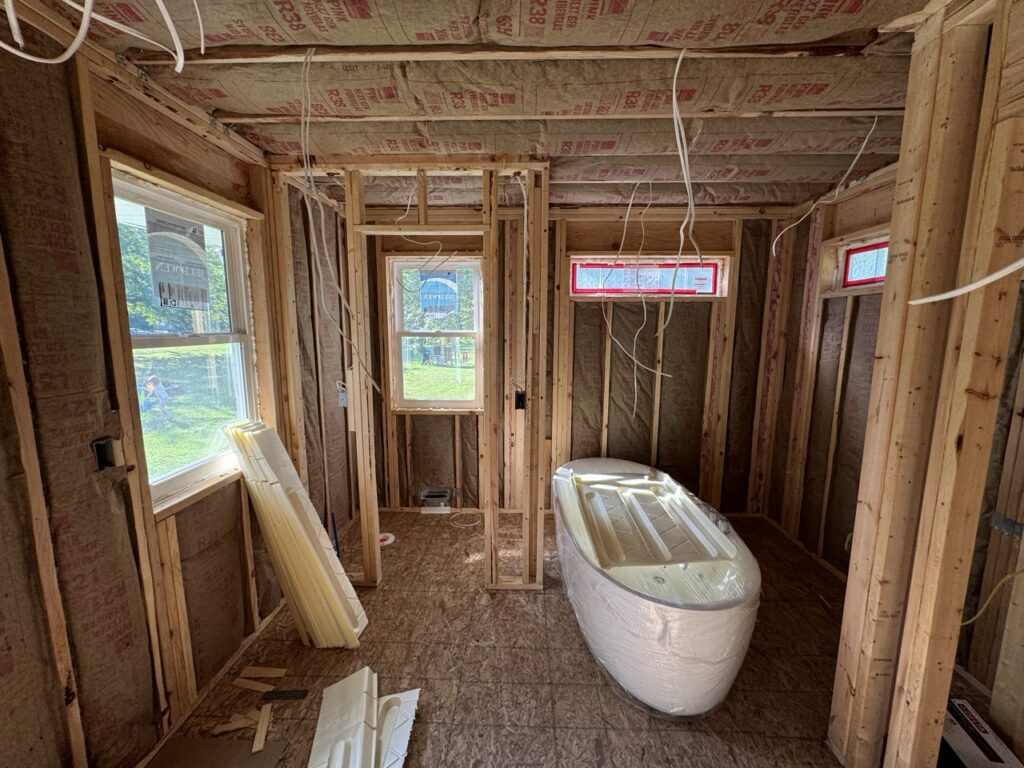
Once the wiring and plumbing were in, I could start on the insulation. We opted for fiberglass insulation in both the walls and the ceiling, so I went to work adding that. Here is a shot of the addition facing south, in which you can see where the vanity, toilet and tub would go.
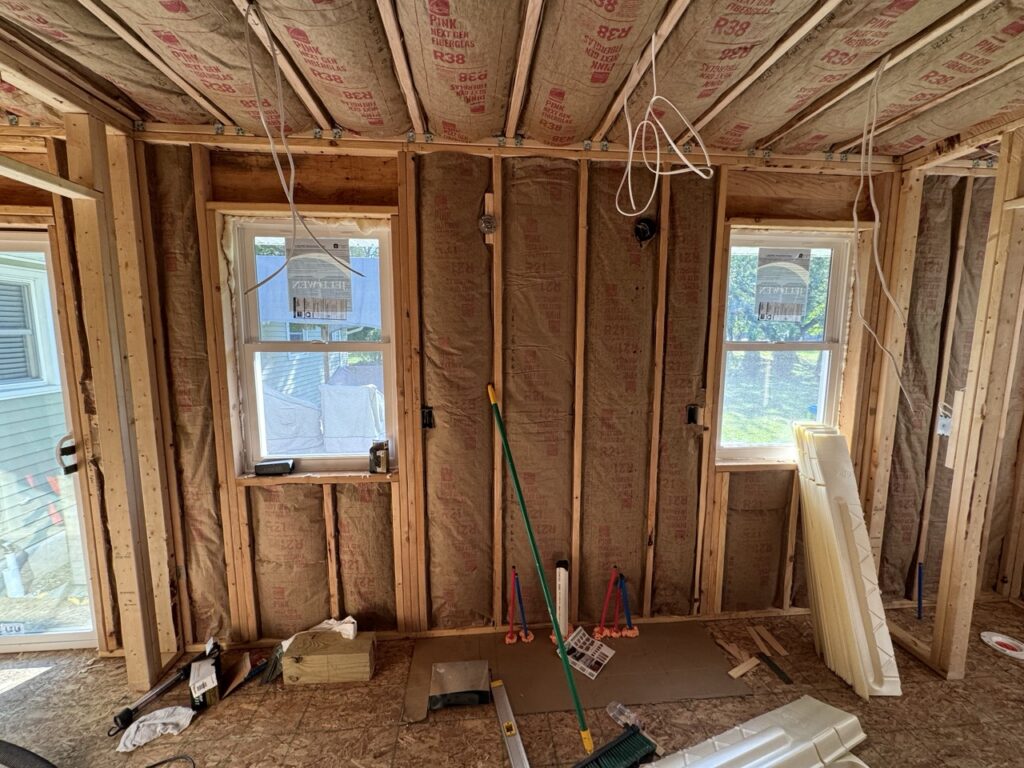
Here is a better shot of where the vanity would go, between the two windows.
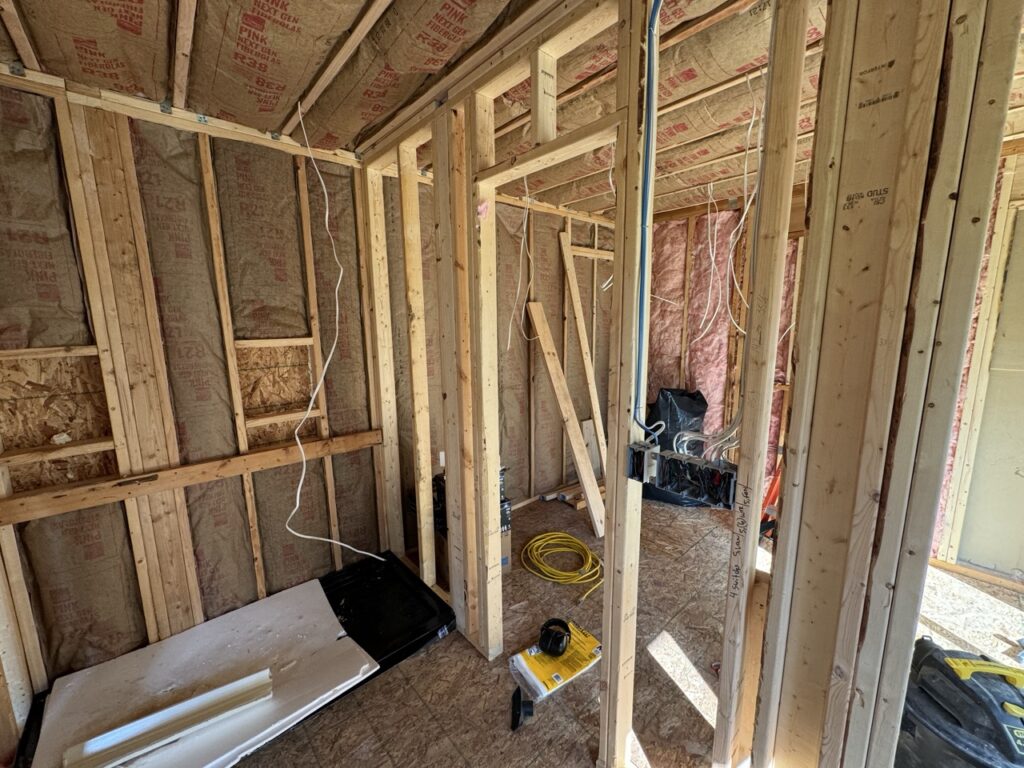
Here is a shot showing the shower area to the left and the walk-in closet on the right.
And finally, here is a shot from inside the existing house looking out through what will become the walkway into the addition from the bedroom. Lots of work left to do…

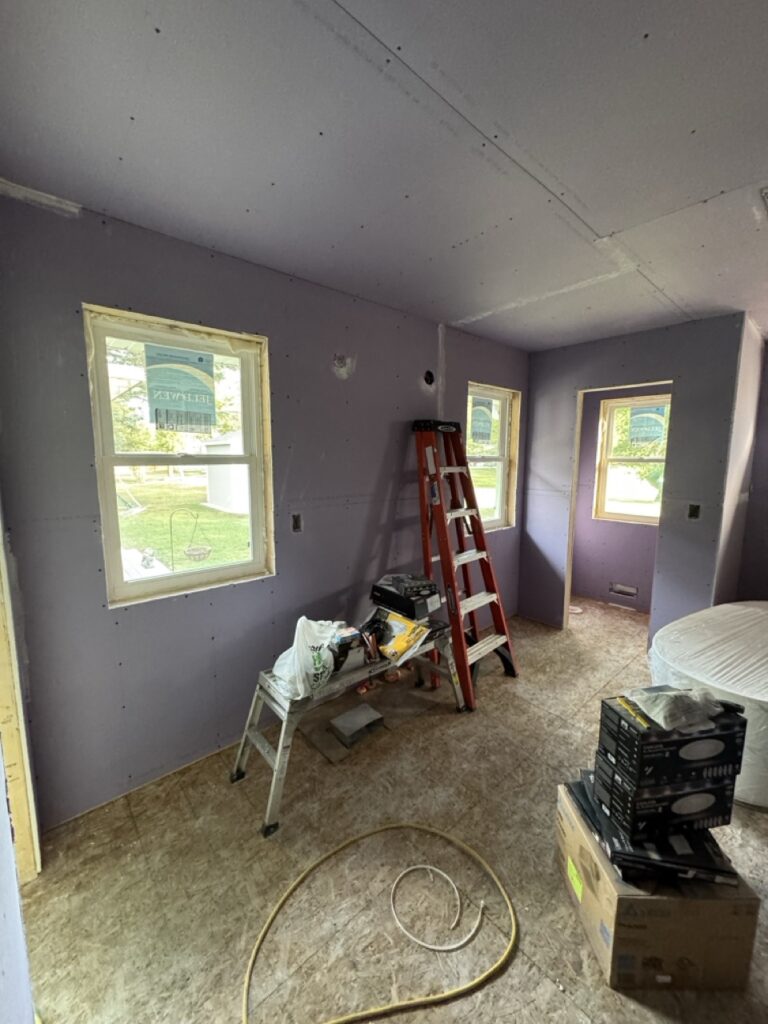
Once we got the insulation inspection completed, it was time for drywall. Drywall, is not my expertise in the least – but during COVID I was able to finish off our basement, so I had a little confidence going into this. That was quickly shattered when I attempted the mudding and taping on the ceiling…in the end we hired out the drywall finishing as well. But before we got to that point, we were able to install the drywall ourselves.
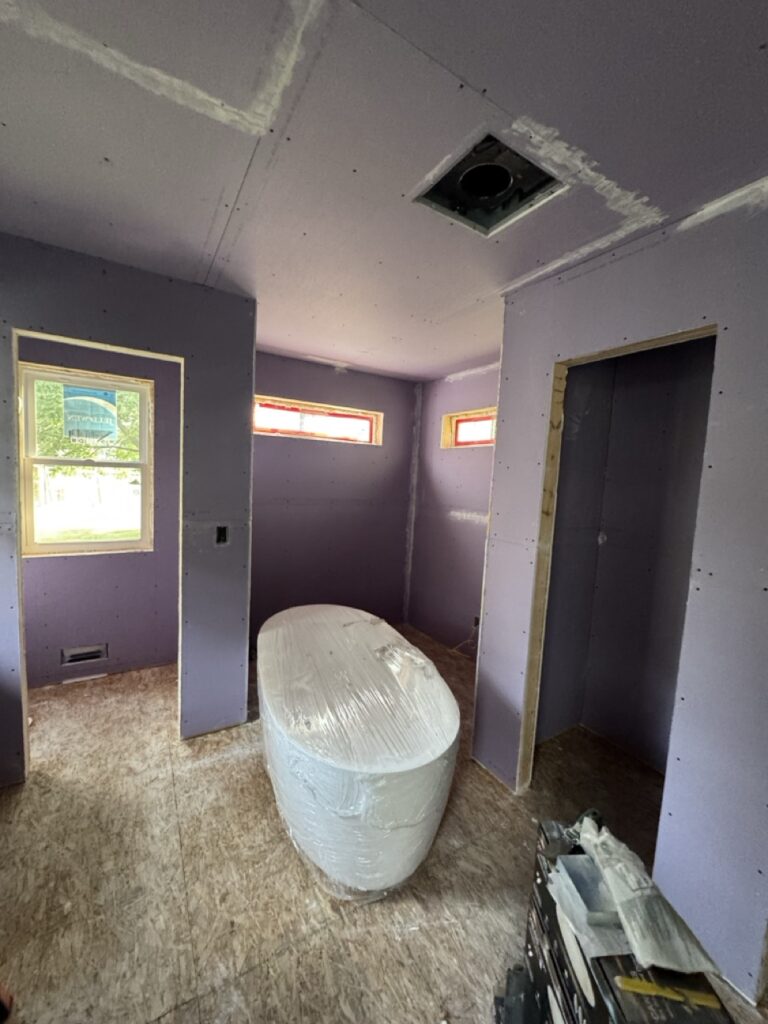
Here is a look at the vanity area with the drywall in.
Here is a look at the toilet area, the tub area and the linen closet.
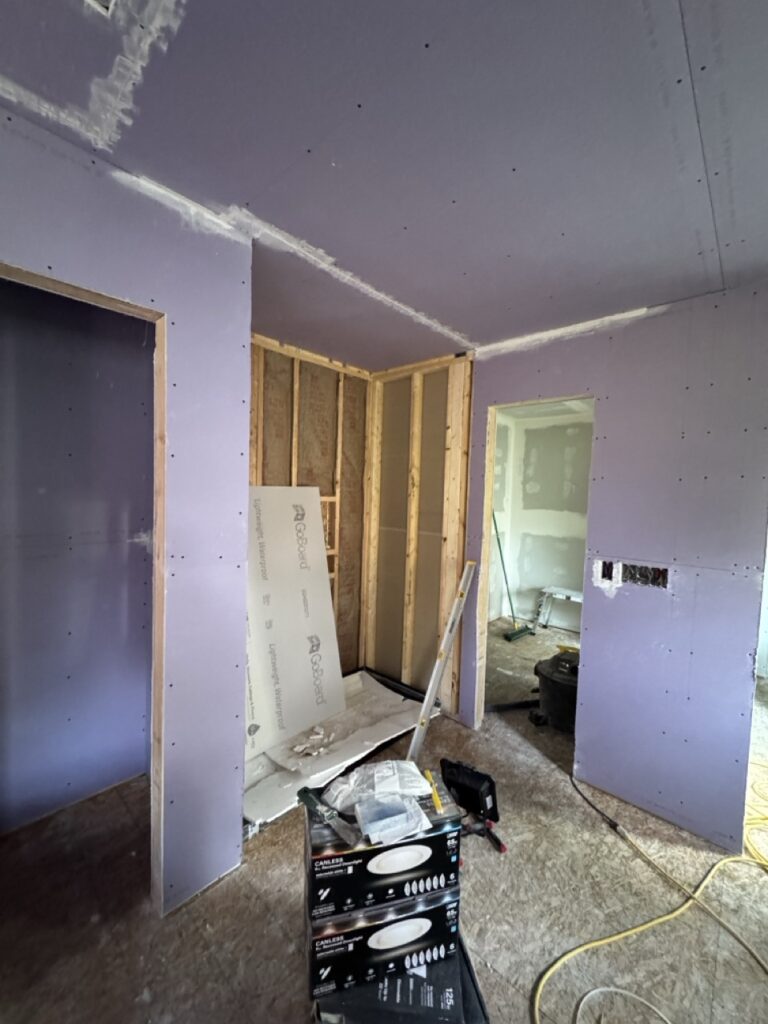
And finally here is a look at the shower area and a peek into the walk-in closet. I was still installing the shower board during this time.
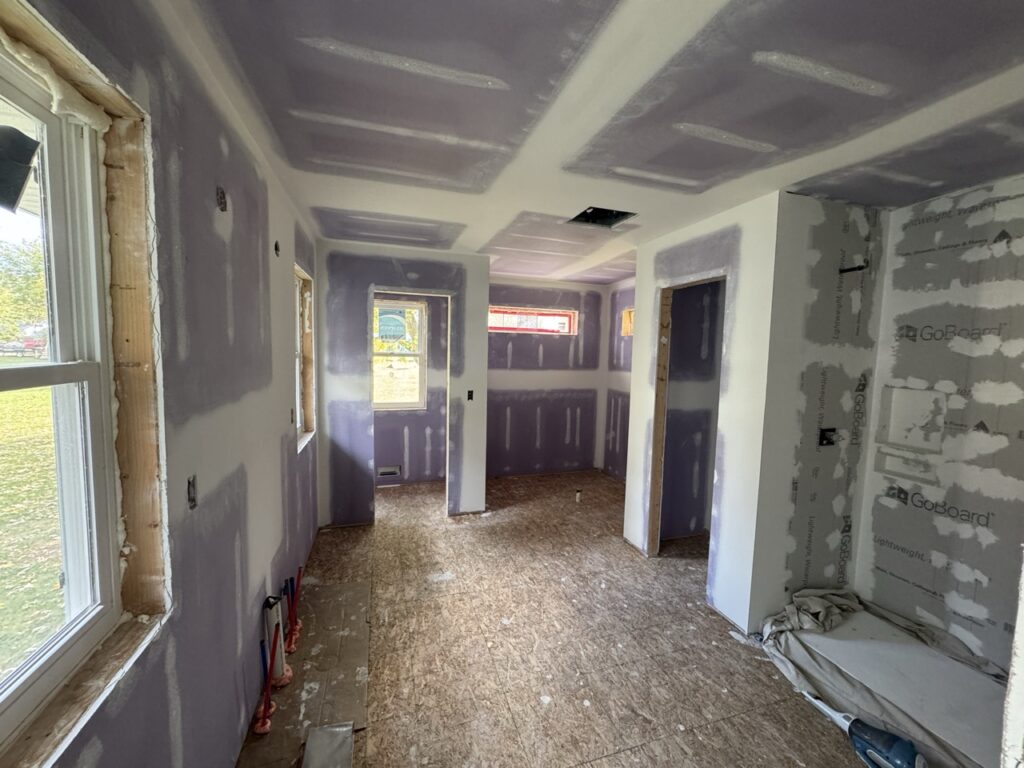
And finally, here is a shot looking into the addition from the doorway of the board all mudded and sanded (shower board is also now on and waterproofed).
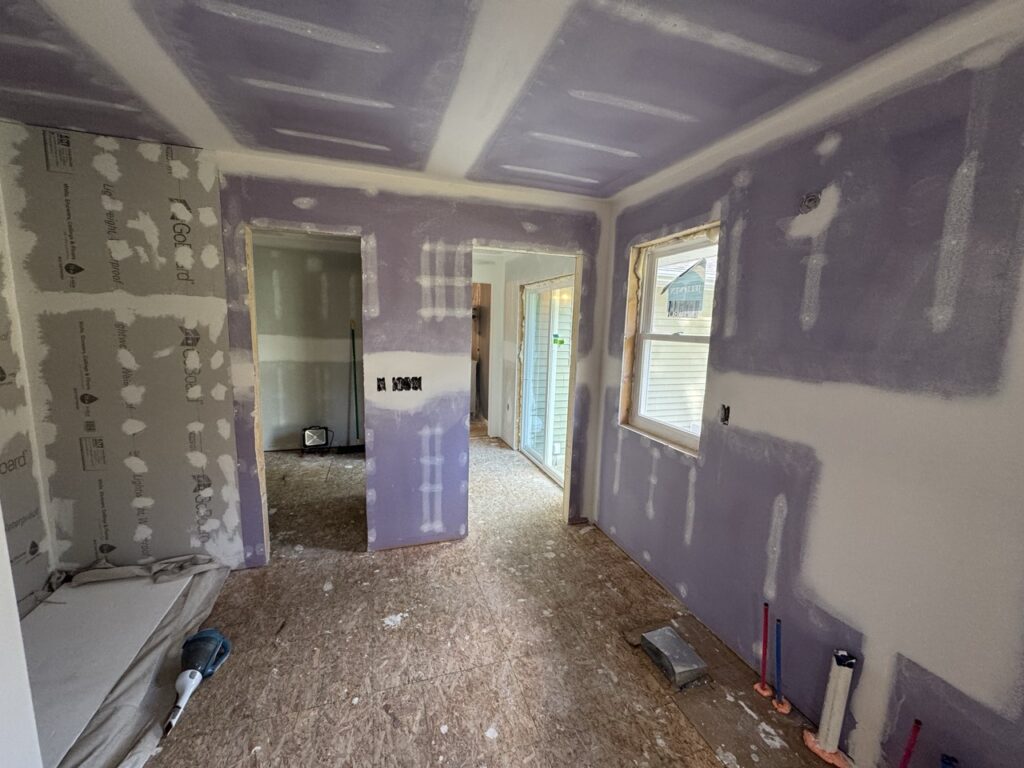
A look at the addition in the other direction.
With the drywall up and mudded, the next step was to seal, prime and paint, and then start on the tile flooring. Stay tuned for the next post for that!