As noted in my last blog entry, this entry is going to talk about the wall and roof construction for the addition. So let’s jump in!
I got to the walls at the end of May. The exterior walls in this build had a unique feature – they were going to be built out and around the existing roof, as you can see in the following picture.
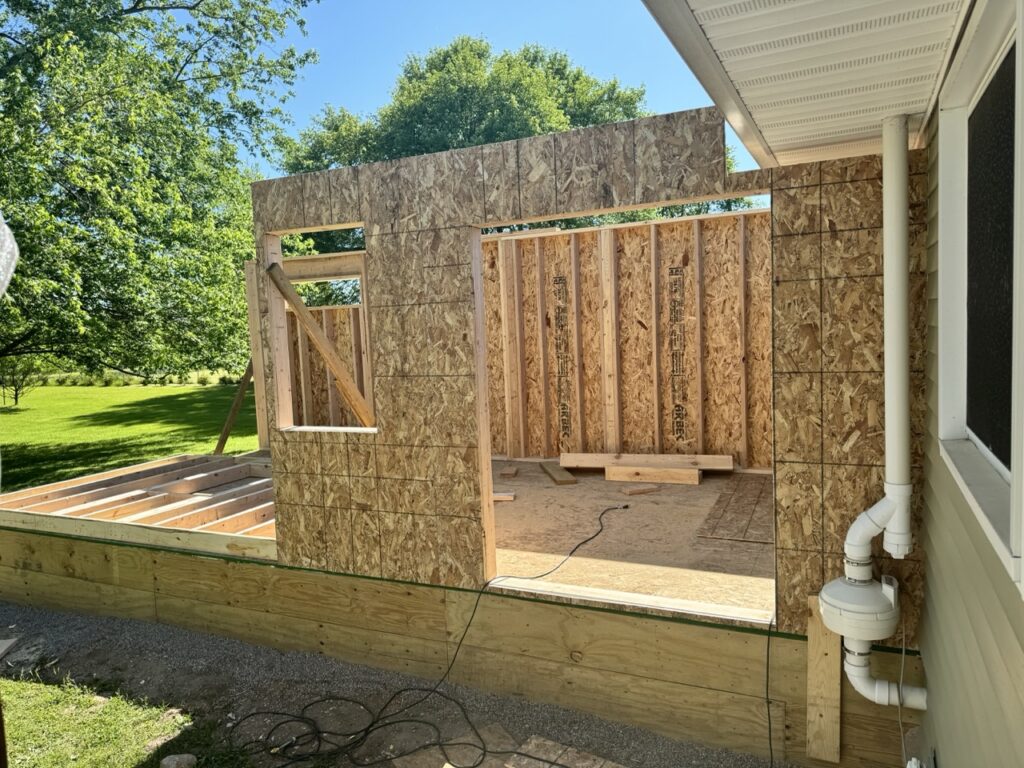
I don’t know that I’ve ever built walls this way before, but it was my dad’s recommendation. The thought process behind this was, it would keep both the attic, and our bedroom below it, dry as long as possible. We ultimately wouldn’t open up the existing roof for quite some time later in the build – that was a pain in the ass let me tell you.
With the exterior walls up, I moved to the interior. The interior needed walls for the large walk-in closet, the wall separating the hallway/walk-in closet and the bathroom, walls for the room that would hold the toilet, and then the walls for the tub, shower and linen closet.
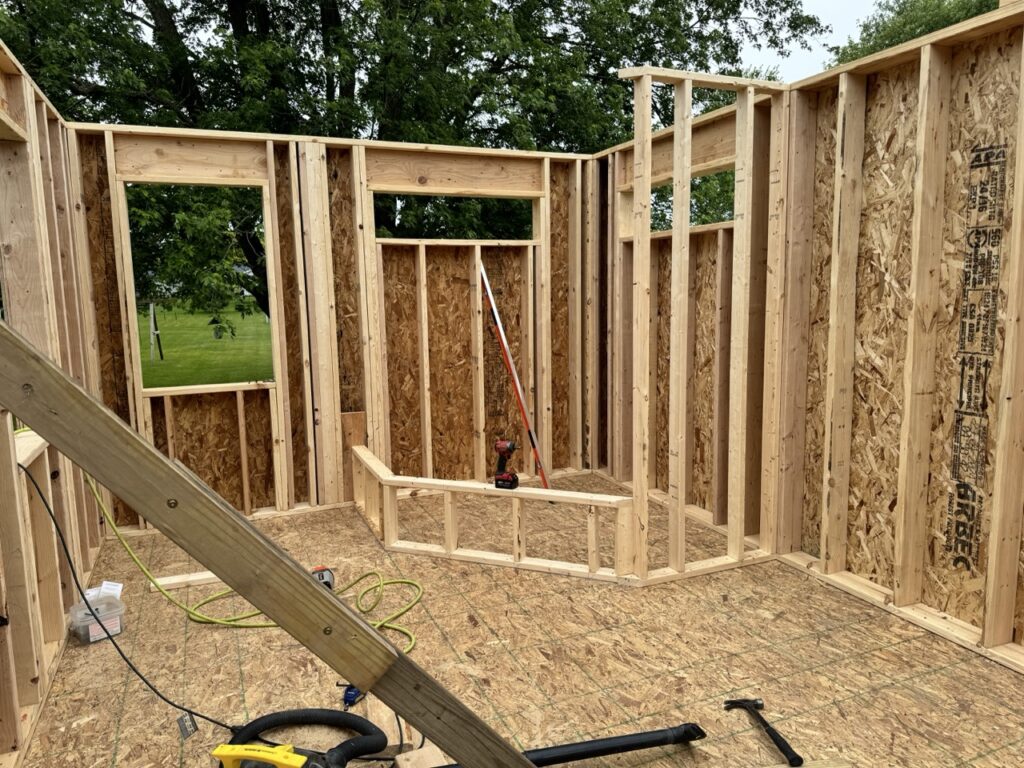
As can be seen in this photo, we were originally going to go with a corner Jacuzzi tub…this design would later change to a freestanding tub. This would see the removal of that small angular short wall so that the entire area was opened up and walk-able.
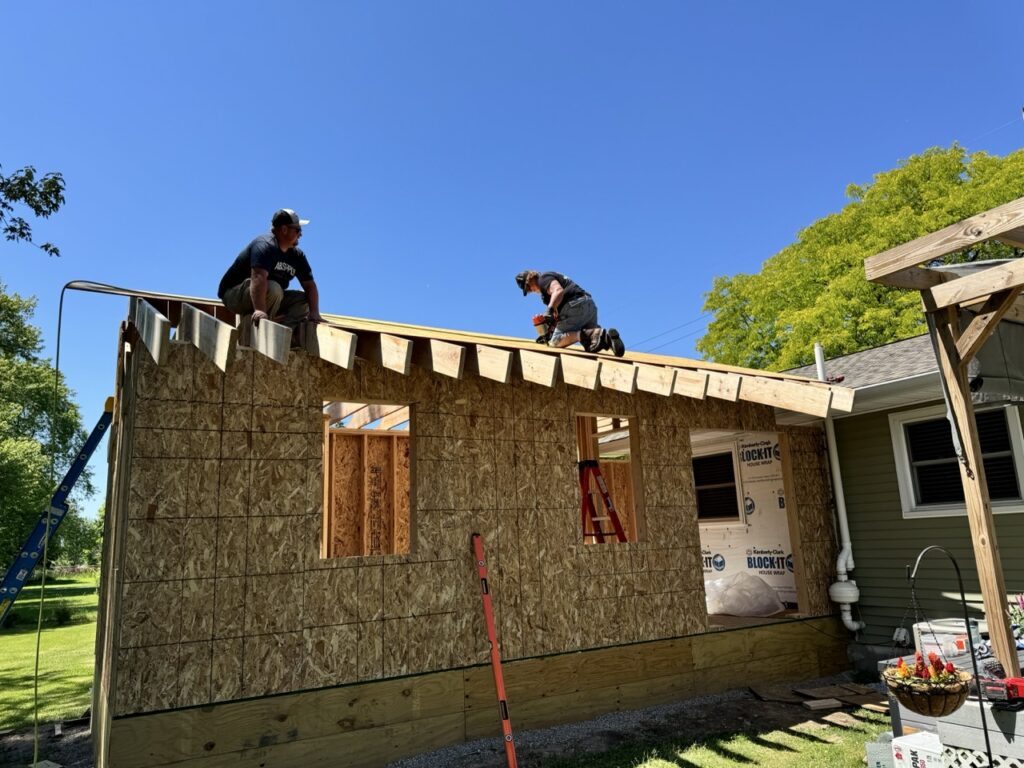
With the walls up, it was time to work on the roof – I couldn’t do this alone. My dad, along with Trevor, walked the walls to run the rafters and sheathing (only after we manhandled the heavy ass beam up in the air for all of that to sit on), while I cut and handed all of it up to them.
With the roof decked, we covered it in plastic to help stop water from getting inside. It helped…to some degree. We had so much rain during this part of the build, battling the water was a major challenge.
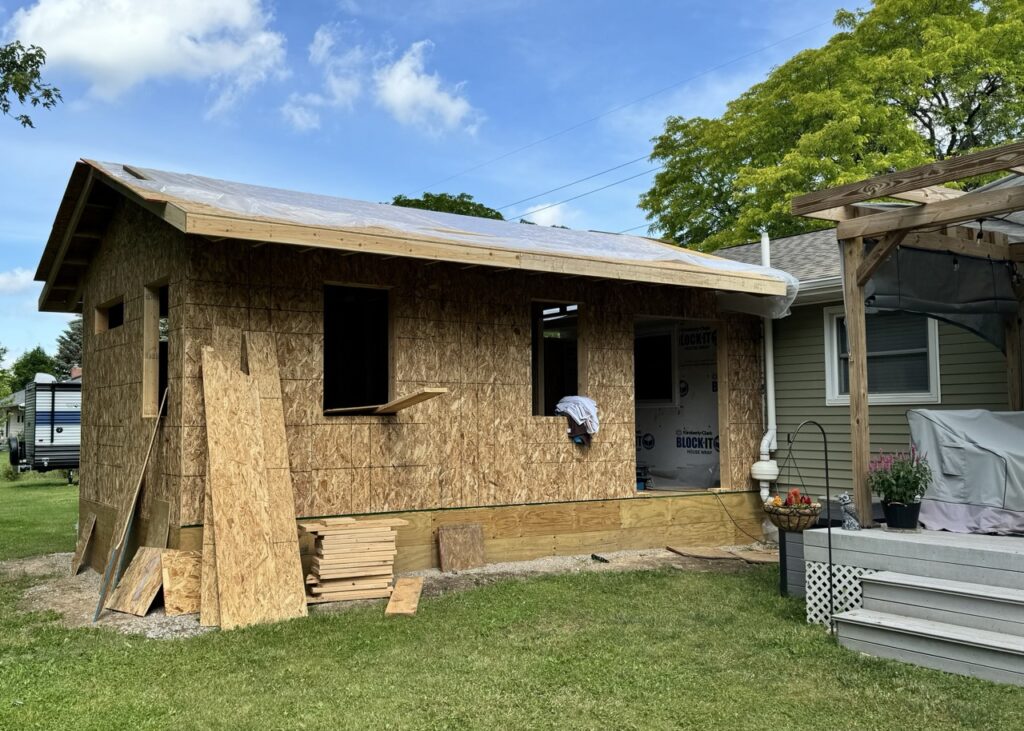
While waiting for the shingles to be delivered so that I could start on roofing, Meghan and I wrapped the addition in house wrap and installed the windows – we had to special order the sliding glass door, so we had a bit of a wait for that.
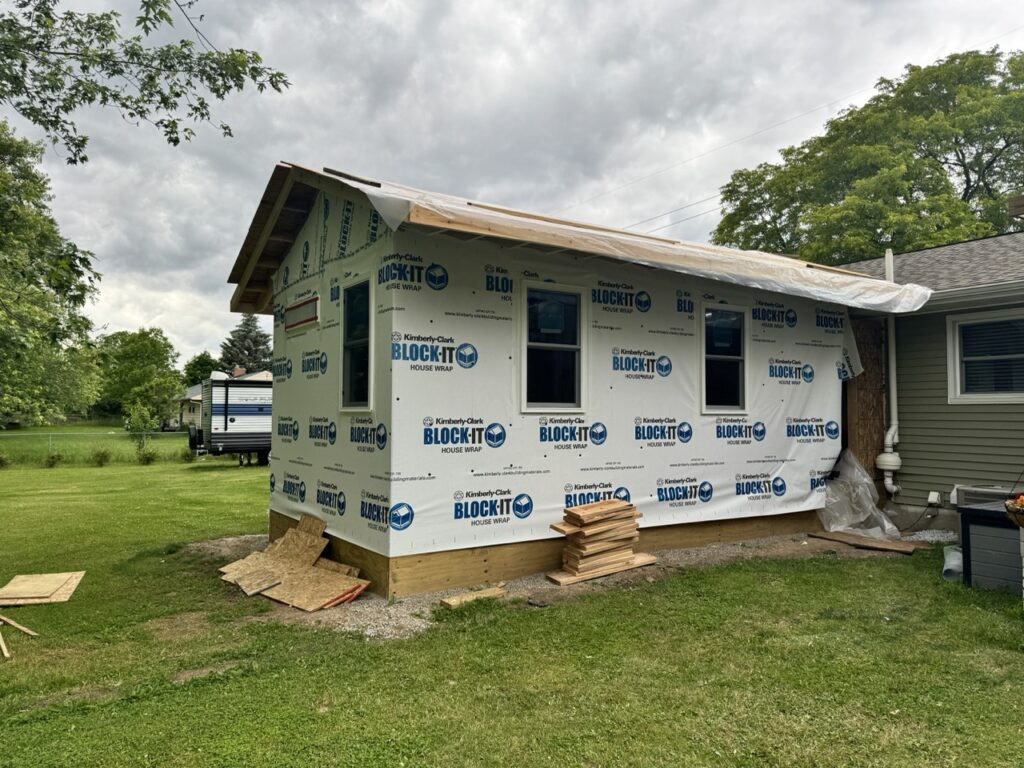
With the addition wrapped, the shingles and siding were delivered. I started on the shingles first, but first had to cover the decking with water and ice guard.
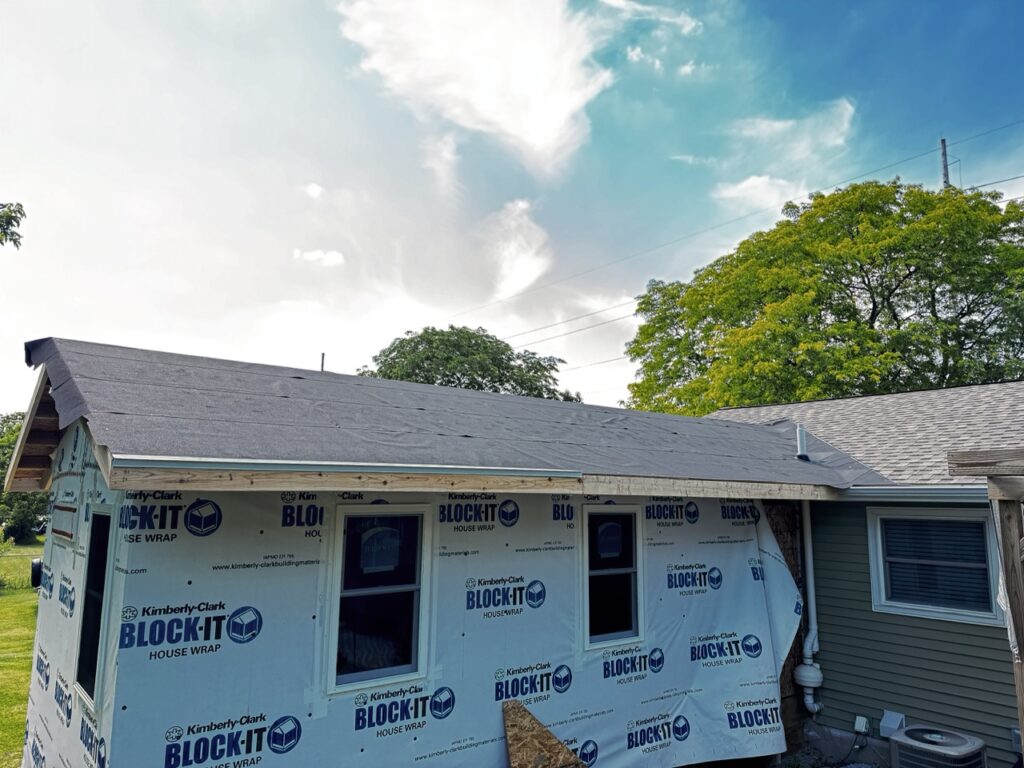
One side done, now onto the other.
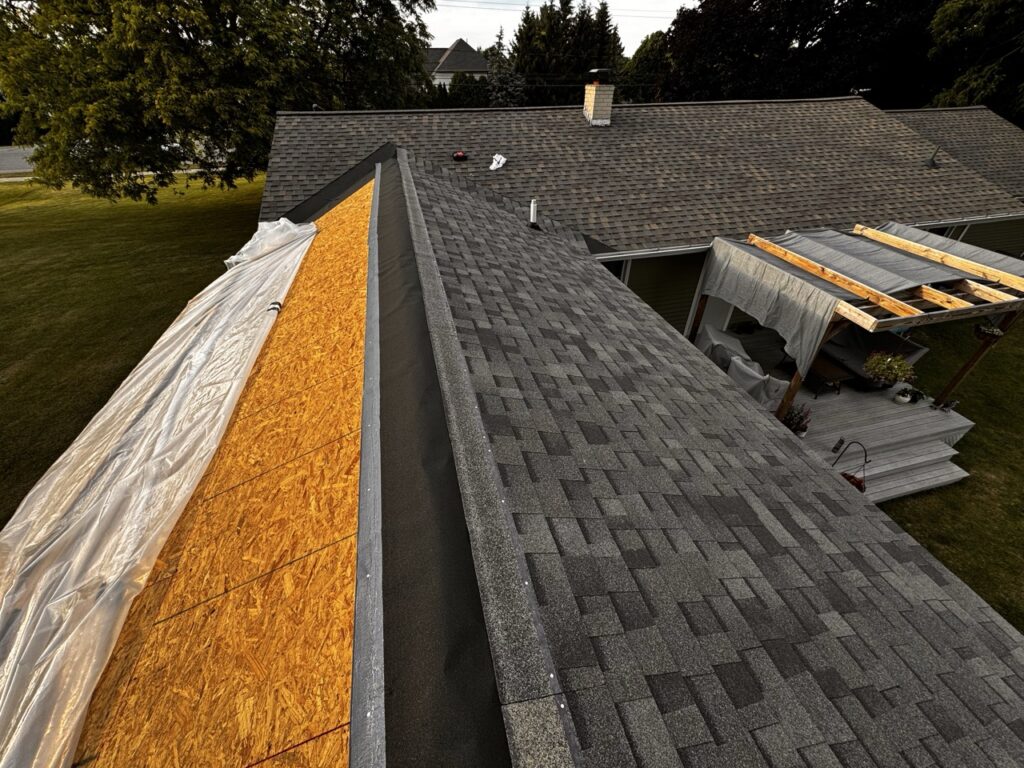
With both sides of the addition now shingled, I had the task of working the shingles back into the existing roof – not a fun task let me tell you. What does this entail? You have to remove shingles from the existing roof and work the new shingles into it. This is very easy to do when you’re roofing an entire house, because you’re starting with a clean slate, there are no shingles to remove in the middle of the roof. When you’d doing an addition though, this is not the case. In this photo, you can see that I have finished the shingles on the west side (right side of the photo) and that valley is good to go – the east side still needs to be finished.
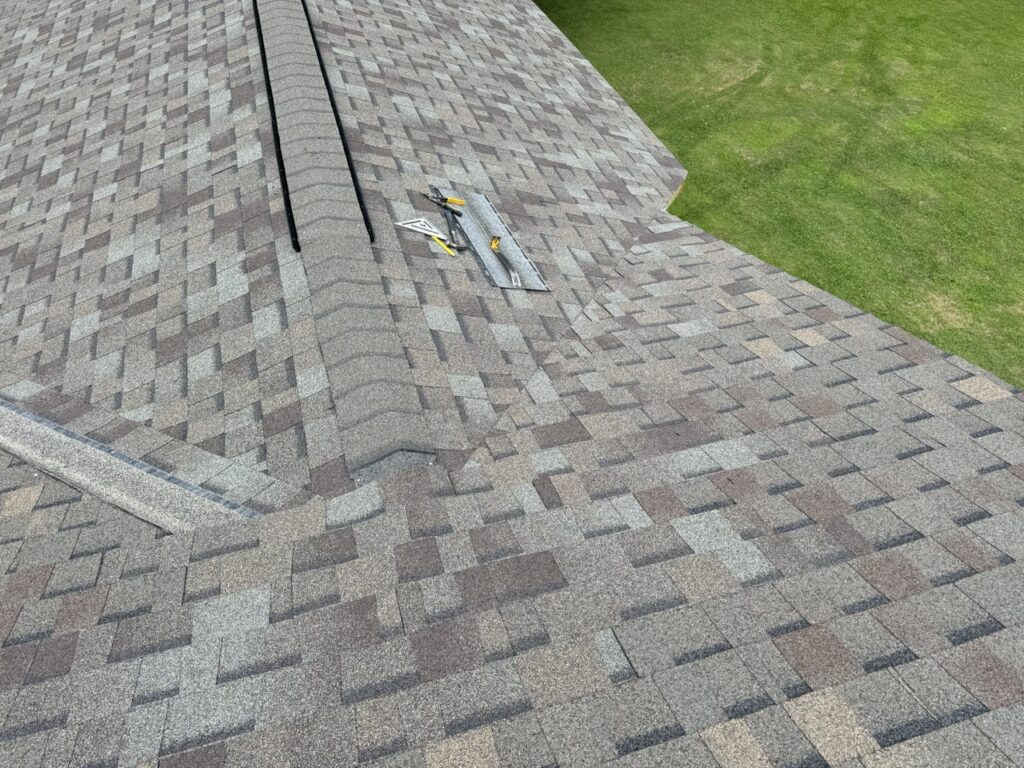
With the roof now done, I went to work on the siding. I started on the west side of the house since it only had a single window and was going to be the easiest to do. The only thing I had to consider here was, do I tie the siding back into the existing siding on the house, or start new? I opted for the latter. I used two pieces of J-Channel that I screwed together as a mid-section “corner”, this is the white strip you see in the below photo on the left side of the addition. From there, it was a piece of cake.
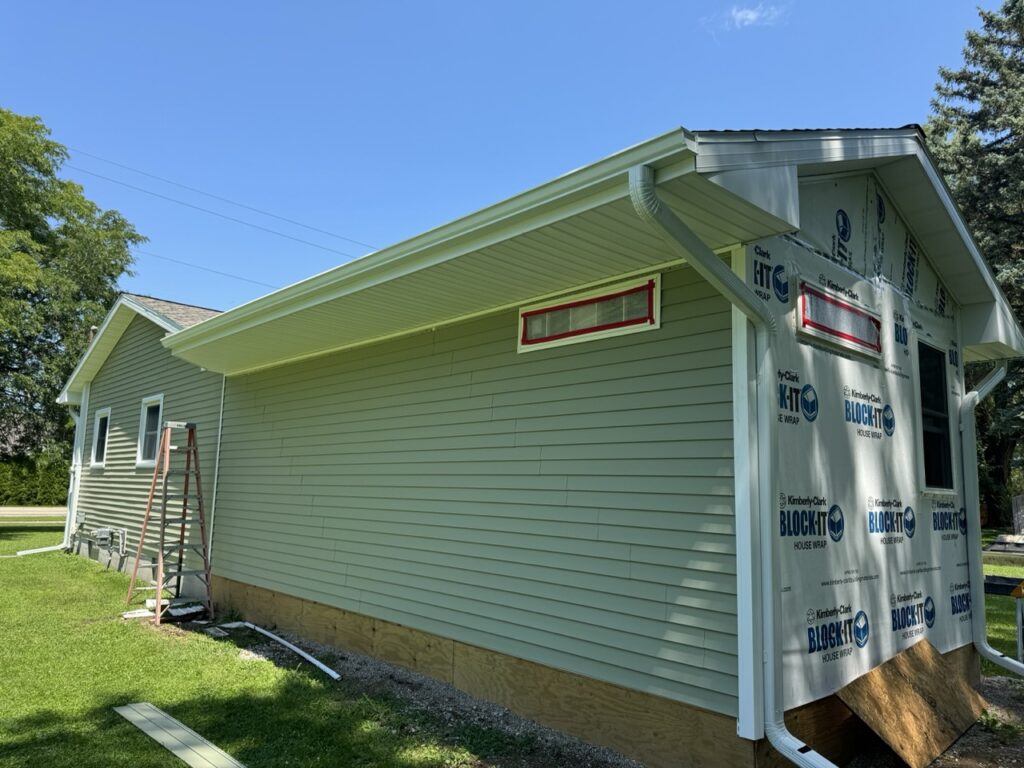
Next I started on the south side of the addition – this was half the length but taller in height because of the gable end.
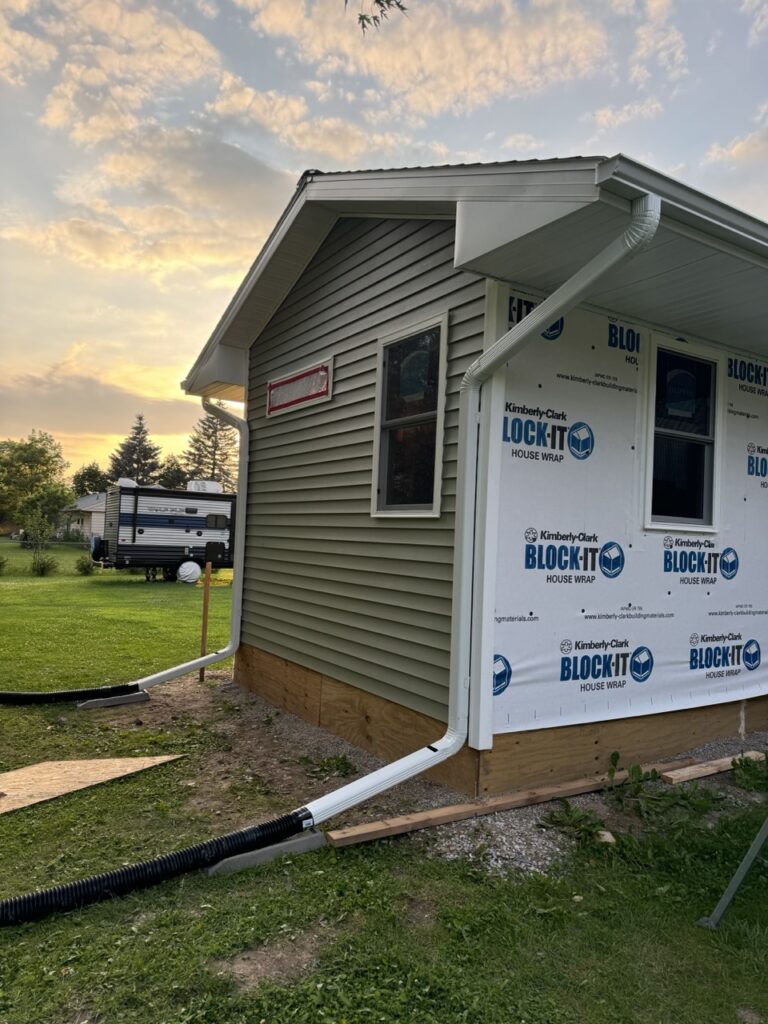
The special order sliding glass door finally came in, so Meghan and I were able to install it and I was able to finish out the siding on the east side.
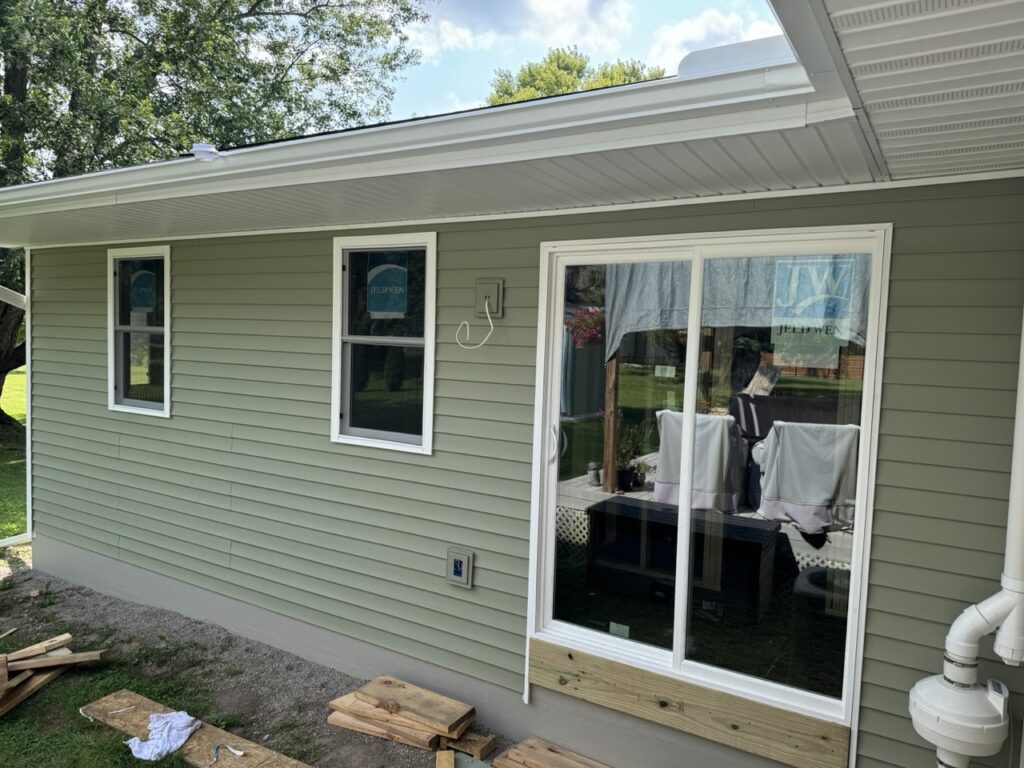
With the siding done, Meghan went to work on painting the exterior rat wall. What is that you ask? We built the addition using the post and beam method (similar to a deck frame), with a crawlspace underneath it. The exterior was wrapped in pressure-treated plywood – you can see it around the perimeter in some of the photos above. This obviously did not match the rest of the house that has a traditional block wall basement, which is gray in color. Riley and I grabbed a bunch of color swatches and brought them back to do our best to match the concrete. With a color picked, Riley and I got the paint, and Meghan went to work painting the rat wall. Here is a shot of the west side of the house
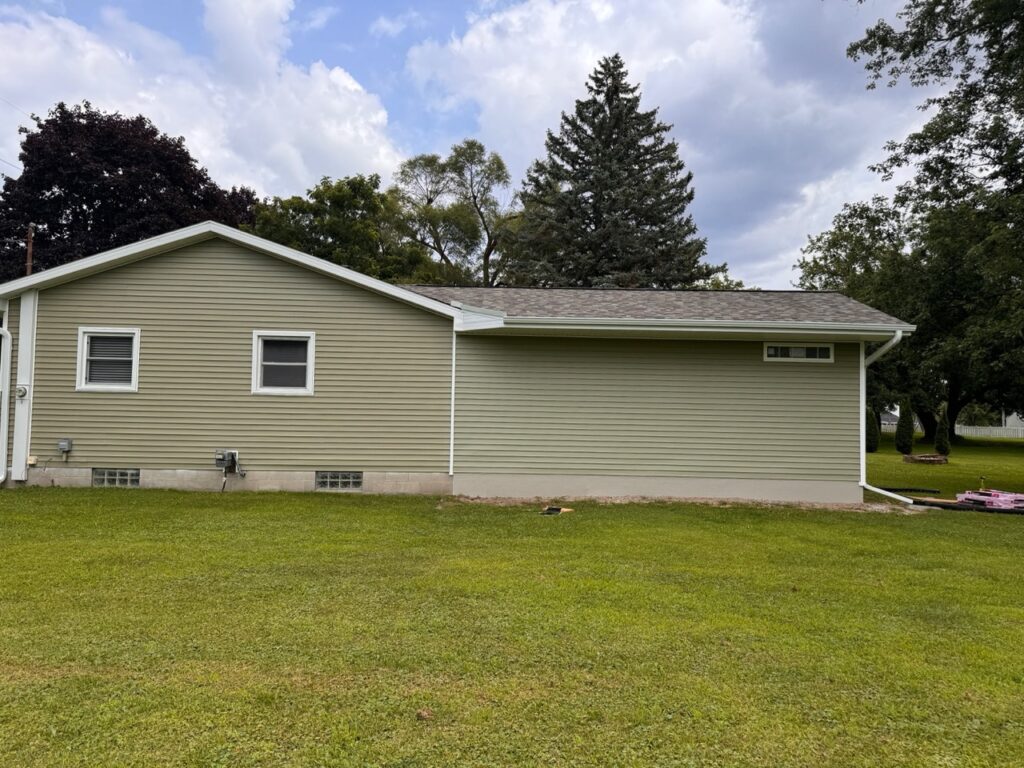
Here is a look at the west and south side together.
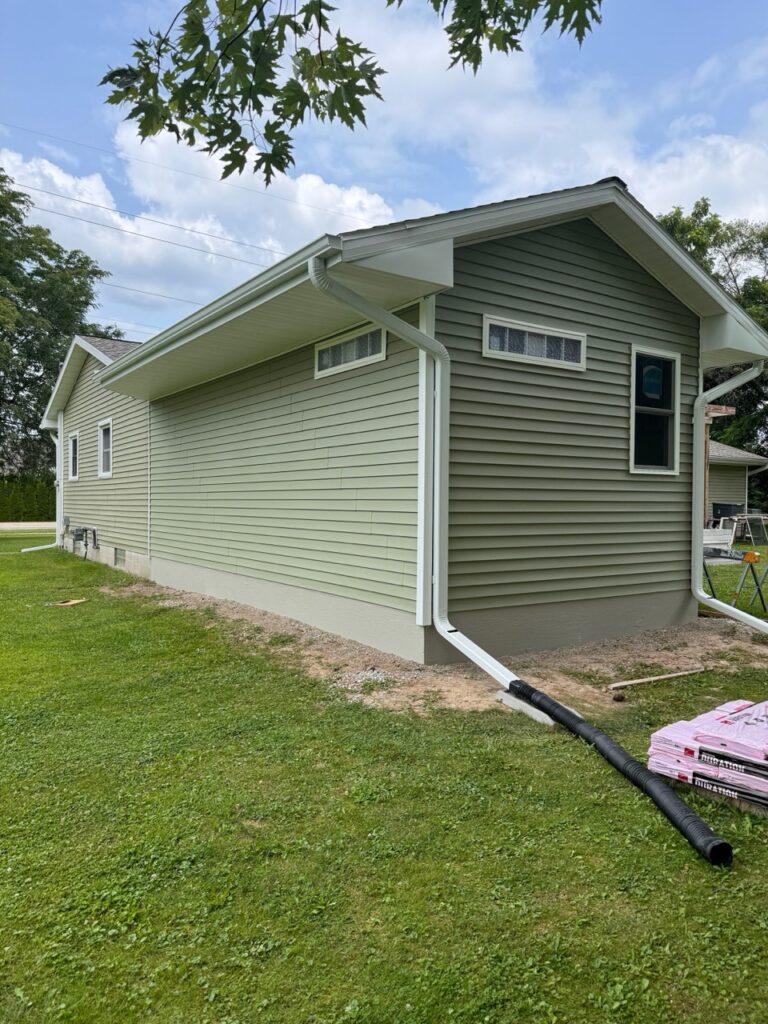
While not a 100% match – it was never going to be – it’s close enough for us. Once it dirties up a bit (which it already has), it will start to match a bit more.
In the next update, I’ll be showing off the interior with insulation and drywall.
