In 2018 we re-sided the house. As part of that, we added a ledger board to the back of the house – the future home for the deck that would be built in 2019. When we got around to building the deck, I had the idea of building one without a railing. Because the deck was going to be relatively small (essentially 12’x12′), I didn’t want it to feel claustrophobic with a railing. On top of that, because we have such a large expansive back yard, I wanted the deck to feel open – one of the main reasons I went with 10′ wide steps. It took us a while to get actual patio furniture, something we did this year (2022), but even without the furniture, we’ve gotten a lot of use from the deck. The biggest problem however has been the sun.
Initially we went with a retractable umbrella. This worked, but the shade it created was limited. With a family made up of 2/3 redheads, we needed more shade. This summer we decided to remedy that by adding a roof…well, sorta.
I started investigating pergola ideas. Now I know you’re thinking, “But Jesse, pergolas don’t block that much sun either, especially since they are just open rafters.” And you’d be correct, but we had a solution for that.
In late July, my dad came up to help with my pergola solution. We grabbed the required materials from Menards in my dad’s truck – the bed of mine isn’t long enough to hold the length of boards we needed, and got to work.

We had to remove several of the deck boards to attach the 4 posts that would hold the rafter structure, and then replaced them by cutting out and around the posts.
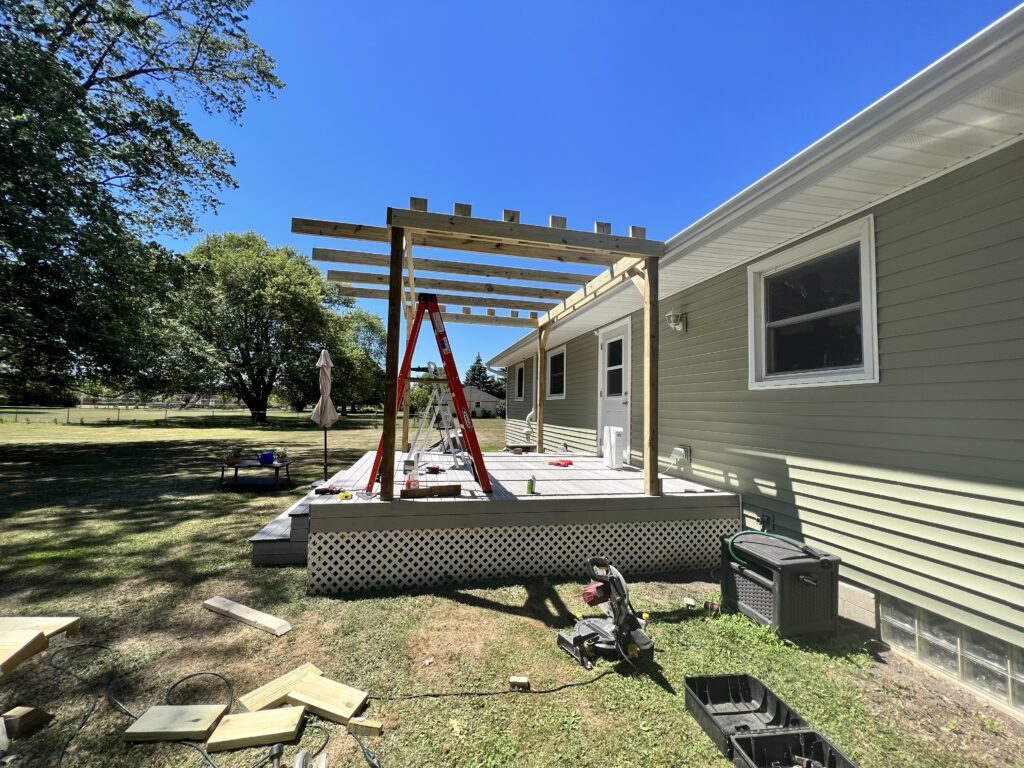
With the post up, we built the beam across the front and back, and I ran and attached the rafters.
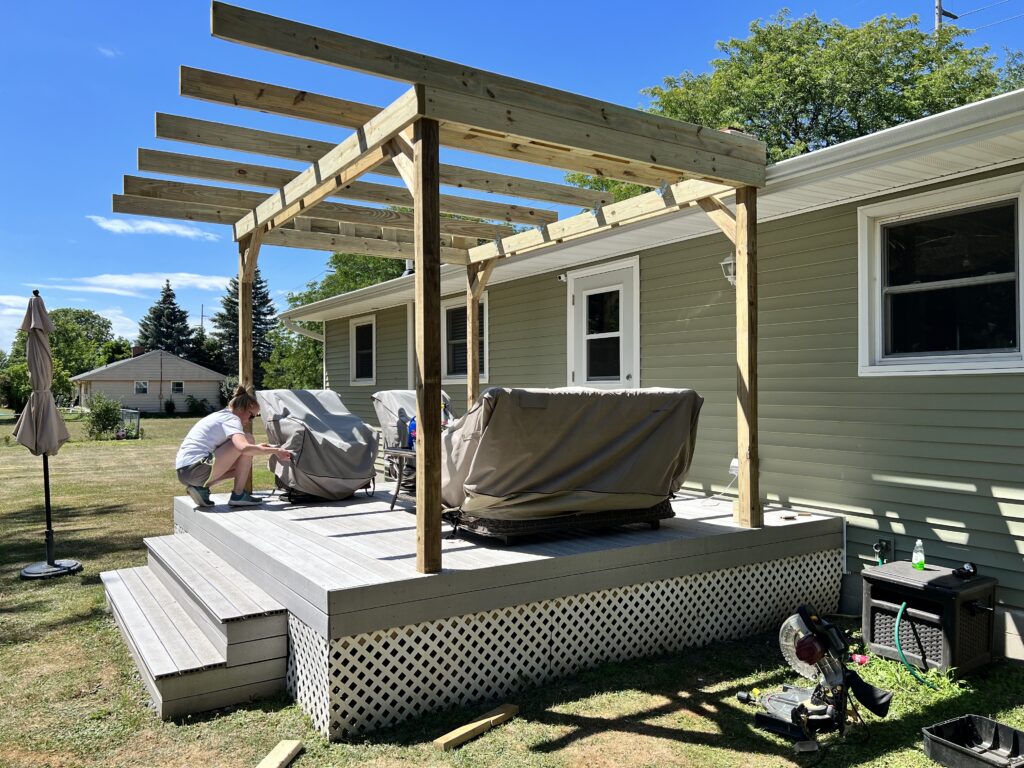
With the rafters attached, the building of the pergola was essentially done. Notice the end of the rafters here? The original intent was to keep it like this…but with the terrible lumber that is currently available, that didn’t end up being the case. After only a few weeks, two of the rafters curved, one sideways and the other downward. Several weeks later I replaced those two, cut all of them back about a foot, and attached a fascia piece…let’s see them curve now! Oh yeah, and goodbye umbrella and stand…that went out to the road with a free sign and was gone in about 30 minutes.
The next step was to take some measurements and head on over to Amazon. What for you ask? Remember how I said the pergola wasn’t going to block out the sun because it has open rafters but that we had a solution? Yep, we ordered a sun shade.
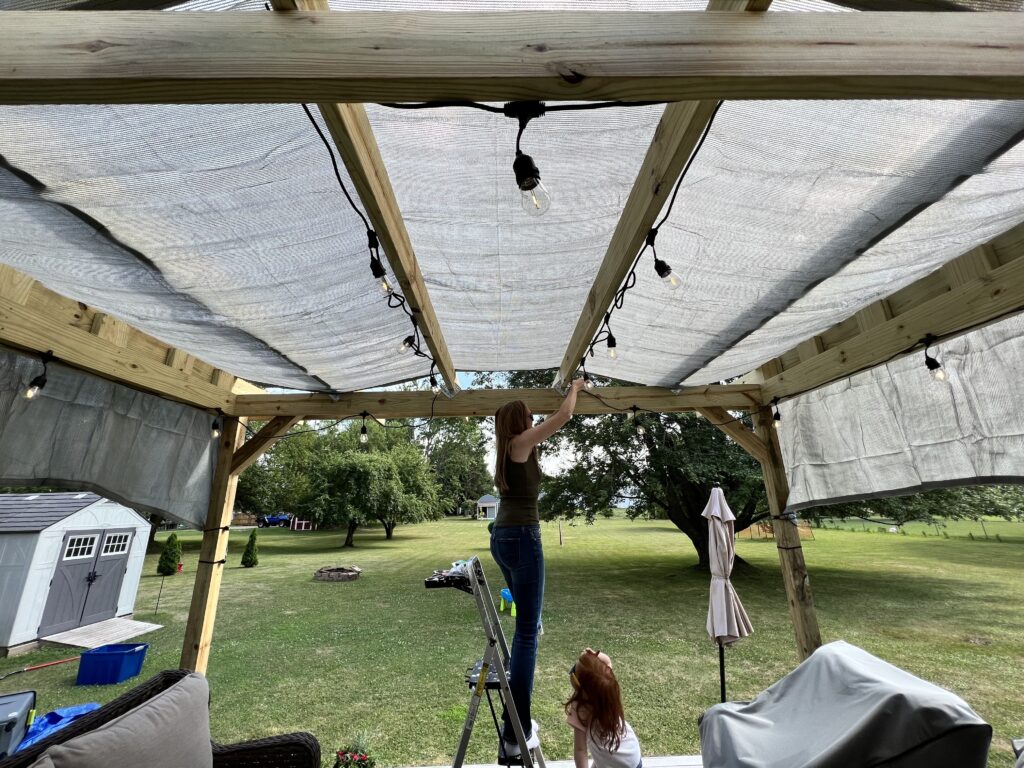
When the sun shade arrived, we got to work. I wove it through the rafters, and Meghan secured it to the posts – Riley wanted to do it all. In addition to the sun shade, I also ordered patio lights, which we attached to the rafters and structure for evening and night time.
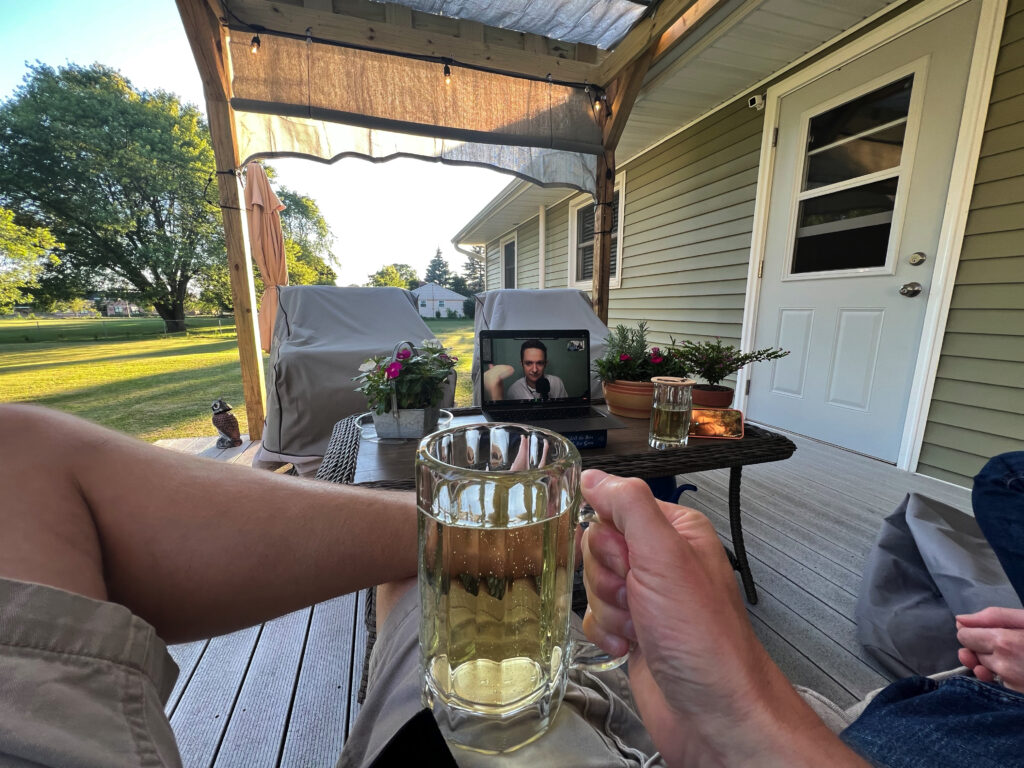
Here we are enjoying the pergola on a Friday evening, complete with hard ciders in-hand and live comedy on the laptop. There is one other addition which you can see in this picture as well. In this photo, you are currently looking west. What happens in the west? Well lots of things probably, but the big one for us is the sun setting. Once the sun goes below the sun shade opening there, lookout! To combat going blind, Meghan invested in a secondary sun shade that operates on pulleys and can be raised or lowered as needed on that side. Brilliant.
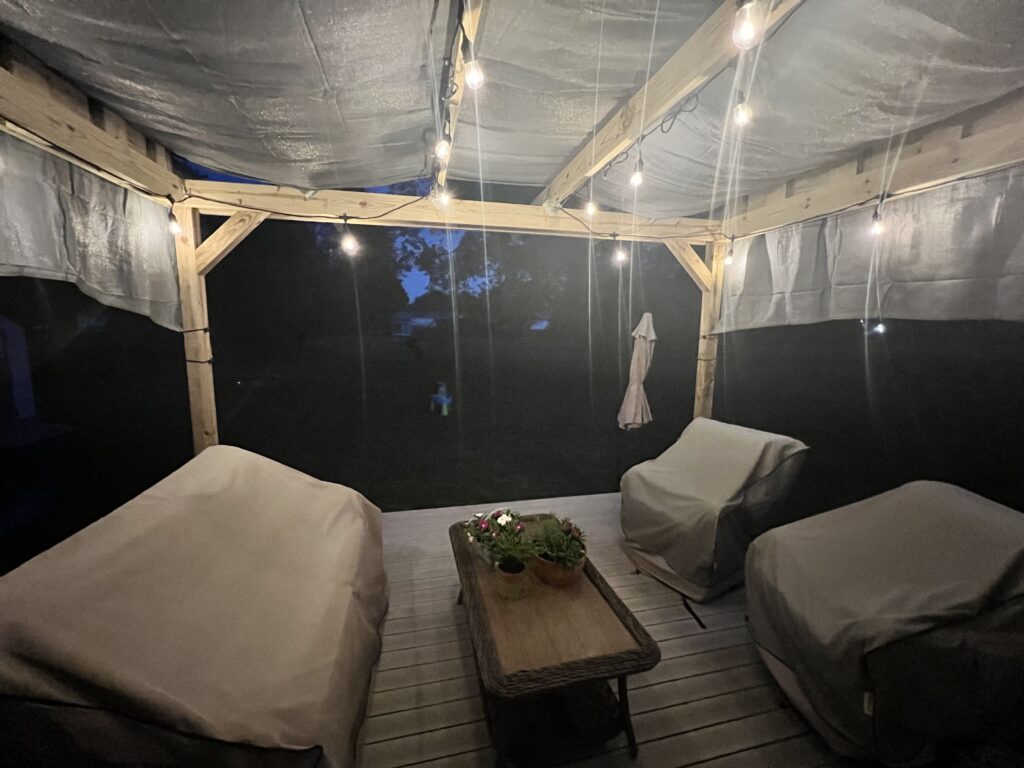
And finally here is a photo of the pergola at night with the patio lights on. Not pictured, because it was bought after this picture was taken, is an alcohol burning tabletop fireplace – that not only looks cool, but actually puts out quite a bit of heat for those cold nights.
Overall, I’m very happy with how this project turned out. It not only improves the deck, but it gives our family an entirely new outdoor space to use – and it’s been used almost every nice day since we finished it.
Done with house projects now? Other than redoing the driveway, I think so…but I’m sure something else will popup that we will want to do!
